Buy anything from 5,000+ international stores. One checkout price. No surprise fees. Join 2M+ shoppers on Desertcart.
Desertcart purchases this item on your behalf and handles shipping, customs, and support to Thailand.
⚙️ Silence the Spin, Own the Fix: Upgrade Your Washer Like a Pro!
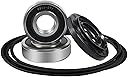
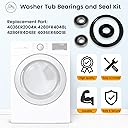
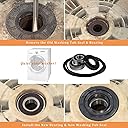
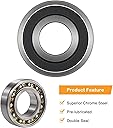
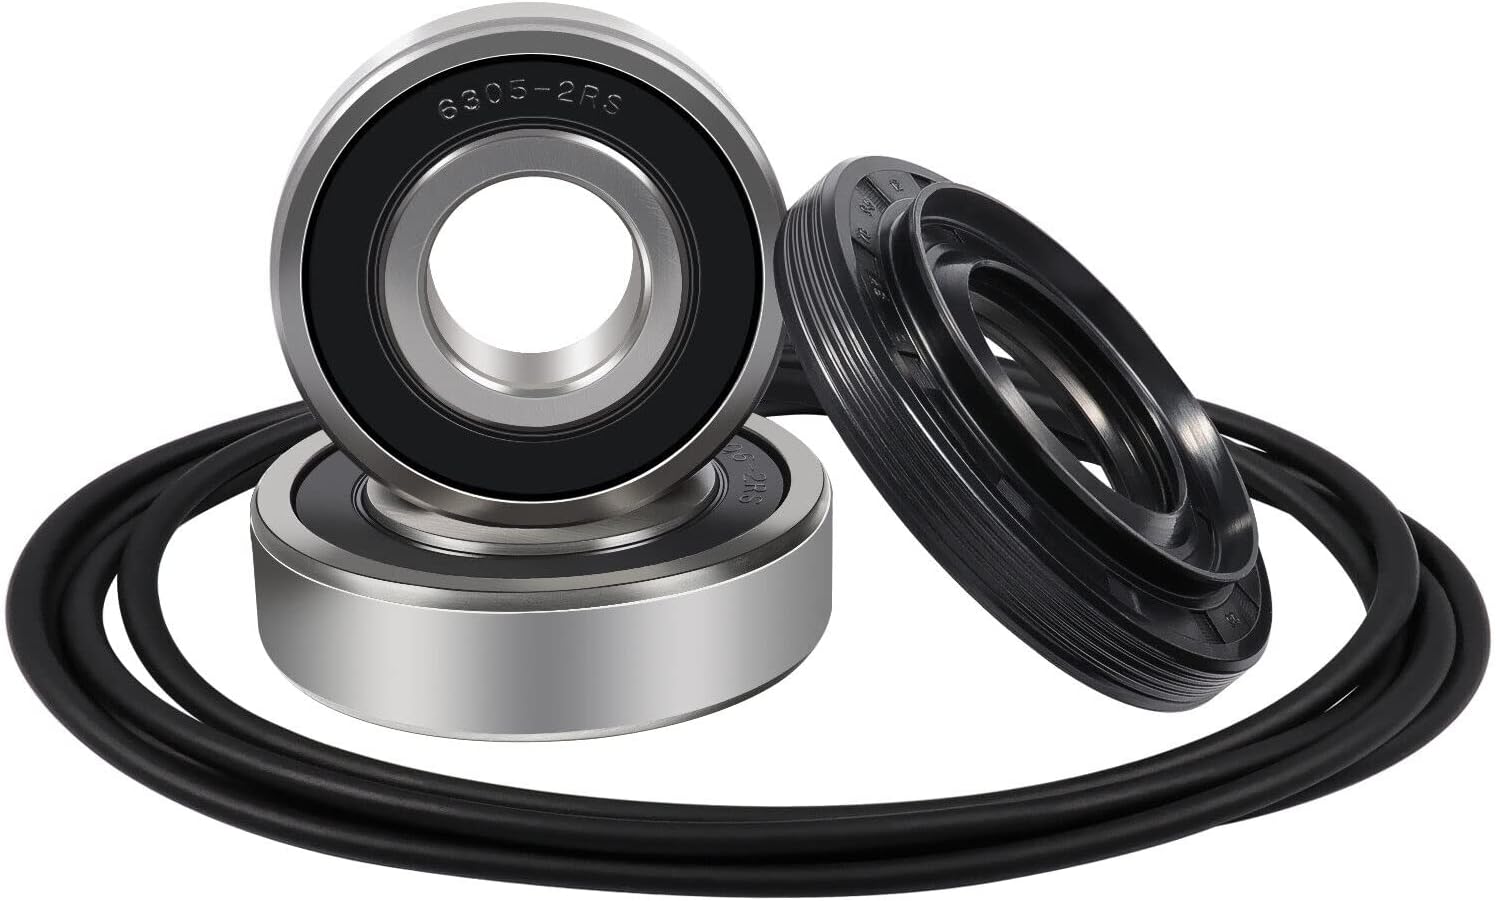
This Front Load Washer Tub Bearings and Seal Kit includes high-grade ABEC 5 roller bearings and dual-material seals engineered for LG and Kenmore washers. Pre-lubricated and precision-made, it reduces noise, vibration, and leaks, enabling a smooth, quiet wash cycle. Ideal for DIY enthusiasts seeking a cost-effective, durable repair solution that extends appliance life and restores factory performance.


| ASIN | B07GDKJRG7 |
| Bearing Number | 4280FR4048L, 4280FR4048E |
| Bearing Type | Roller Bearing |
| Best Sellers Rank | #78,428 in Tools & Home Improvement ( See Top 100 in Tools & Home Improvement ) #325 in Washer Parts & Accessories #1,096 in Dryer Replacement Parts |
| Brand | Sunluway |
| Brand Name | Sunluway |
| Compatible Lubricant | Grease |
| Customer Reviews | 4.3 out of 5 stars 1,547 Reviews |
| Item Weight | 0.68 Kilograms |
| Manufacturer | Sunluway |
| Material | Alloy Steel |
| Material Type | Alloy Steel |
| Outside Diameter | 76 Millimeters |
| Part Number | AS251 |
| Specification Met | ABEC 5 |
B**E
Better than stock. Happy with my purchase
These are higher quality than the original bearings that died after 20 years. Easy install (well as easy as knocking out and replacing bearings can be) and got my washer running again better than when I bought it. Highly recommend
A**R
Stopped my washer from sounding like a jet taking off!
Bought this assuming the noise from my washer was caused by the tub bearings. Once I had the washer apart, it was very obvious that the bearings were showing their age and feeling crunchy. This repair kit installed easily in an evening after work, and there is also a good YouTube video on how to perform the repair! My LG TROMM washer works perfectly now and is quiet again! Would 10/10 recommend this to anyone else. Money well spent!
D**I
Perfect fit.
After checking on the replacement cost for my washer and dryer, I decided to give replacing the bearings a go even if it was clearly a daunting task. Taking out the old bearings was a bear since it was rusted, split in two and seemed like welded onto the drum and the shaft. With the help of Dremel I was able to carefully take out the old bearings and these fit perfectly. My washer now works perfectly and will probably last another 10 years.
M**1
STOP!!!! Don't buy. GARBAGE product, monster job, buy OEM
Update #2 11/17/2020 - This item is complete garbage. "THESE" bearing lasted 2 months before starting to degrade, so again I replaced them with OEM LG bearings. 7 Months with a Genuine LG Bearing still sounds silent like a new washer. My advice stick with OEM. This is a monster job, you don't want to do it twice like I had to. Update 4/2/2020 GARBAGE!!!! I'm giving a generous 2 Stars, because after 2 months these bearings started to fail, sounding like before I replaced them. Now at 6 months these bearing are in total failure, louder than the 10 YEAR old ones on the OEM (listen to the video, these are the new bearings after 6 months). Just ordered LG bearings. I will wait 2 months and post another review to rule out any other part causing the failure. If the LG ones work I'm dropping to 1 star. First this is a monster undertaking will take a full day, but the end result is a super quiet washer again. Tips: 1. Buy a new front door gasket, shocks and lg spring expansion tool, you take off these items anyway. The spring expansion too is the best 25 dollars you will spend. Took me 30 minutes for 1 gasket spring installation, cuts on my hand and bruises on my knuckles without the tool 2. YouTube video for installation and use ziplock bags to label, keep track of screws, 3. Use a sledge hammer, hit drive shaft directly square on top, it will easily separate it from bearing without damage. I used a mallet, sledge with a piece off wood, shaft didnt budge even hitting it hard as I could. Hit shaft once with a sledge hammer directly, with 1/2 the force worked like a charm. 4. Use a thin film of laundry or hand soap on bearings and door gasket spring grooves. Will make installation much easier. 5. Remove the bars on inside of drum, only takes 2 screws. Mine were caked with soap scum underneath. If you ever got that grey slime on clothes this is why. Clean all soap scum out of tubs and stainless drum too. Good luck
L**Y
FINALLY FIXED!
My washer sounded like it was taking off for outer space. My husband kindly offered to fix it after viewing numerous UTUBE videos on "How to Install". Well after procrastinating (which he's good at) he finally decided it was time. It took him 2 days so the installation process is very time consuming (it might be user) but I finally have a quiet washing machine that will last longer thanks to purchasing and installing this product. The price wasn't bad and actually installing the bearings and seal was easy (that's what hubby said). It was getting to the bearings and seal; that was the hardest part. But I can now wash clothes without the sound of blasting off echoing through the entire house! Good job! Good job to hubby too!
D**E
Get the right tools for the job.
Installed these TWICE in my LG Tromm front-loader that sounded like a jet engine on the spin cycle. The first set didn't last more than about 3 months. I believe I messed them up on installation. Using a hammer (even if careful) to install these may mean you've shortened the life of them in a massive way. After 3 months they were noisy again and inspection showed them to be completely disintegrated and had leaked all of their grease. They had tons of play and were worse than the originals. The SECOND time I'm more confident that they'll last. I used a bearing pusher / puller to install properly, which makes the job 100x easier and pushes them in with no risk of damage. Now my machine is as quiet as when it was new. Note: it's best to buy a new drum spider when replacing these and you'll need to apply a small amount of grease on the seal washer in order to avoid squealing where the rubber meets the metal shaft. I'll update this review if the new set deteriotes like the first, however I'm pretty confident it was my 'heavy handed' first installation that set the first set up for failure. Edit: 4 months later and we’re still golden. Will update after more months have passed. Edit: 13 months in... still good. Edit: 16 months and counting. A-ok. (Hint: bearing pusher is the key to a successful installation)
M**K
Some lessons learned
I just went through this bearing replacement in my LG washer and thought I'd share some tips. The old bearings are hard to get out. I tried everything and ultimately the answer is "use something bigger". I sprayed PB Blaster on both bearings first. To get the tub out of bearings in the outer shell, suspend the edges on sawhorses, wood, or cinder blocks. Use a 2x4 to protect the shaft and hammer it downward. Should fall right out. For the front bearing I failed many times with screwdrivers, chisels, claw hammers, etc. What worked- get at least a footlong iron pipe, rebar, or something solidly strong, feed it through the outer bearing and then alternate hitting the left and right backside of the front bearing with a sledgehammer, the bigger the better. Took a while, but mine eventually dropped out. Getting the rear bearing out was impossible. I read a plumber tip that said to screw a sacrificial bolt into your drum spline threads, similar to the one you took out. You could probably use the original since it didn't damage my sacrificial bolt at all. Then put the tub back into the outer shell. Hold it at waist height and drop it so the bolt hits something solid like concrete. My bearing popped right out first try. To get the new bearings in, clean the holders really well and put a thin coat of dish soap on it. Lay your old bearing on top of it to pound it into the holder, tapping evenly around the race until it's flush. One last tip, if you put it all back together and the spline isn't sticking far enough out of the back of the tub case to get the bolt in, don't take it all back apart. Just use something to pull the spline towards you. I used a cloth over the spline and pulled it towards me with pliers.
1**K
Fairly easy job!!
Lorain furniture and appliance on Utube was a great reference to this easy job... Mine had very loud noises and drum tight Took me as an experienced mechanic 3 hours total.. with the video and your time, save $$$ hundreds$$ on repair call or new machine... For $20, go ahead and try!!! Mine is now quiet and smooth... My seal went bad, water in bearings and kit was the cure. Kit has seal, 2 bearings and large Oring for drum housing..
A**O
xxx
xxx
A**Q
Good
Value of money
F**L
Justo el modelo para las lavadoras de la descripción
Es compatible con el modelo de lavadora específicado en la descripción. Ya los instale y la lavadora está funcionando de nuevo
M**B
Efectivo
Para reparacion de la lavadora
R**N
Perfect , quality of bearing as expected, Seals and oring
I looked up at my serial number and model 796 , to this Kenmore styl fit like a Charm I repacked the bearing with water resistant grease, And expected shaft damage The seal seat is perfect fit the shaft , Expect your to be water damage "rust" Dont expect and think the seal will last 10more year , fix the shaft of the tub and also pack grease between the seal and bearing , i did mine a mod grease hole between the seal and the bearing To pump 2pumps yearly , , dont asume this kit will fix for longivity if you dont fix the damaged that cause the bearing failure, To me , 5star fit bang on mine like it should , not the Seller responsibility for longivity of life Bearing are quality like other brand and seals also and tub seal also , Expect a big job but worth the shot then $$ $ for a bearing worth maintenace cost ,
Trustpilot
2 days ago
2 months ago