♻️ Turn kitchen scraps into clean convenience with Waste King L-8000!
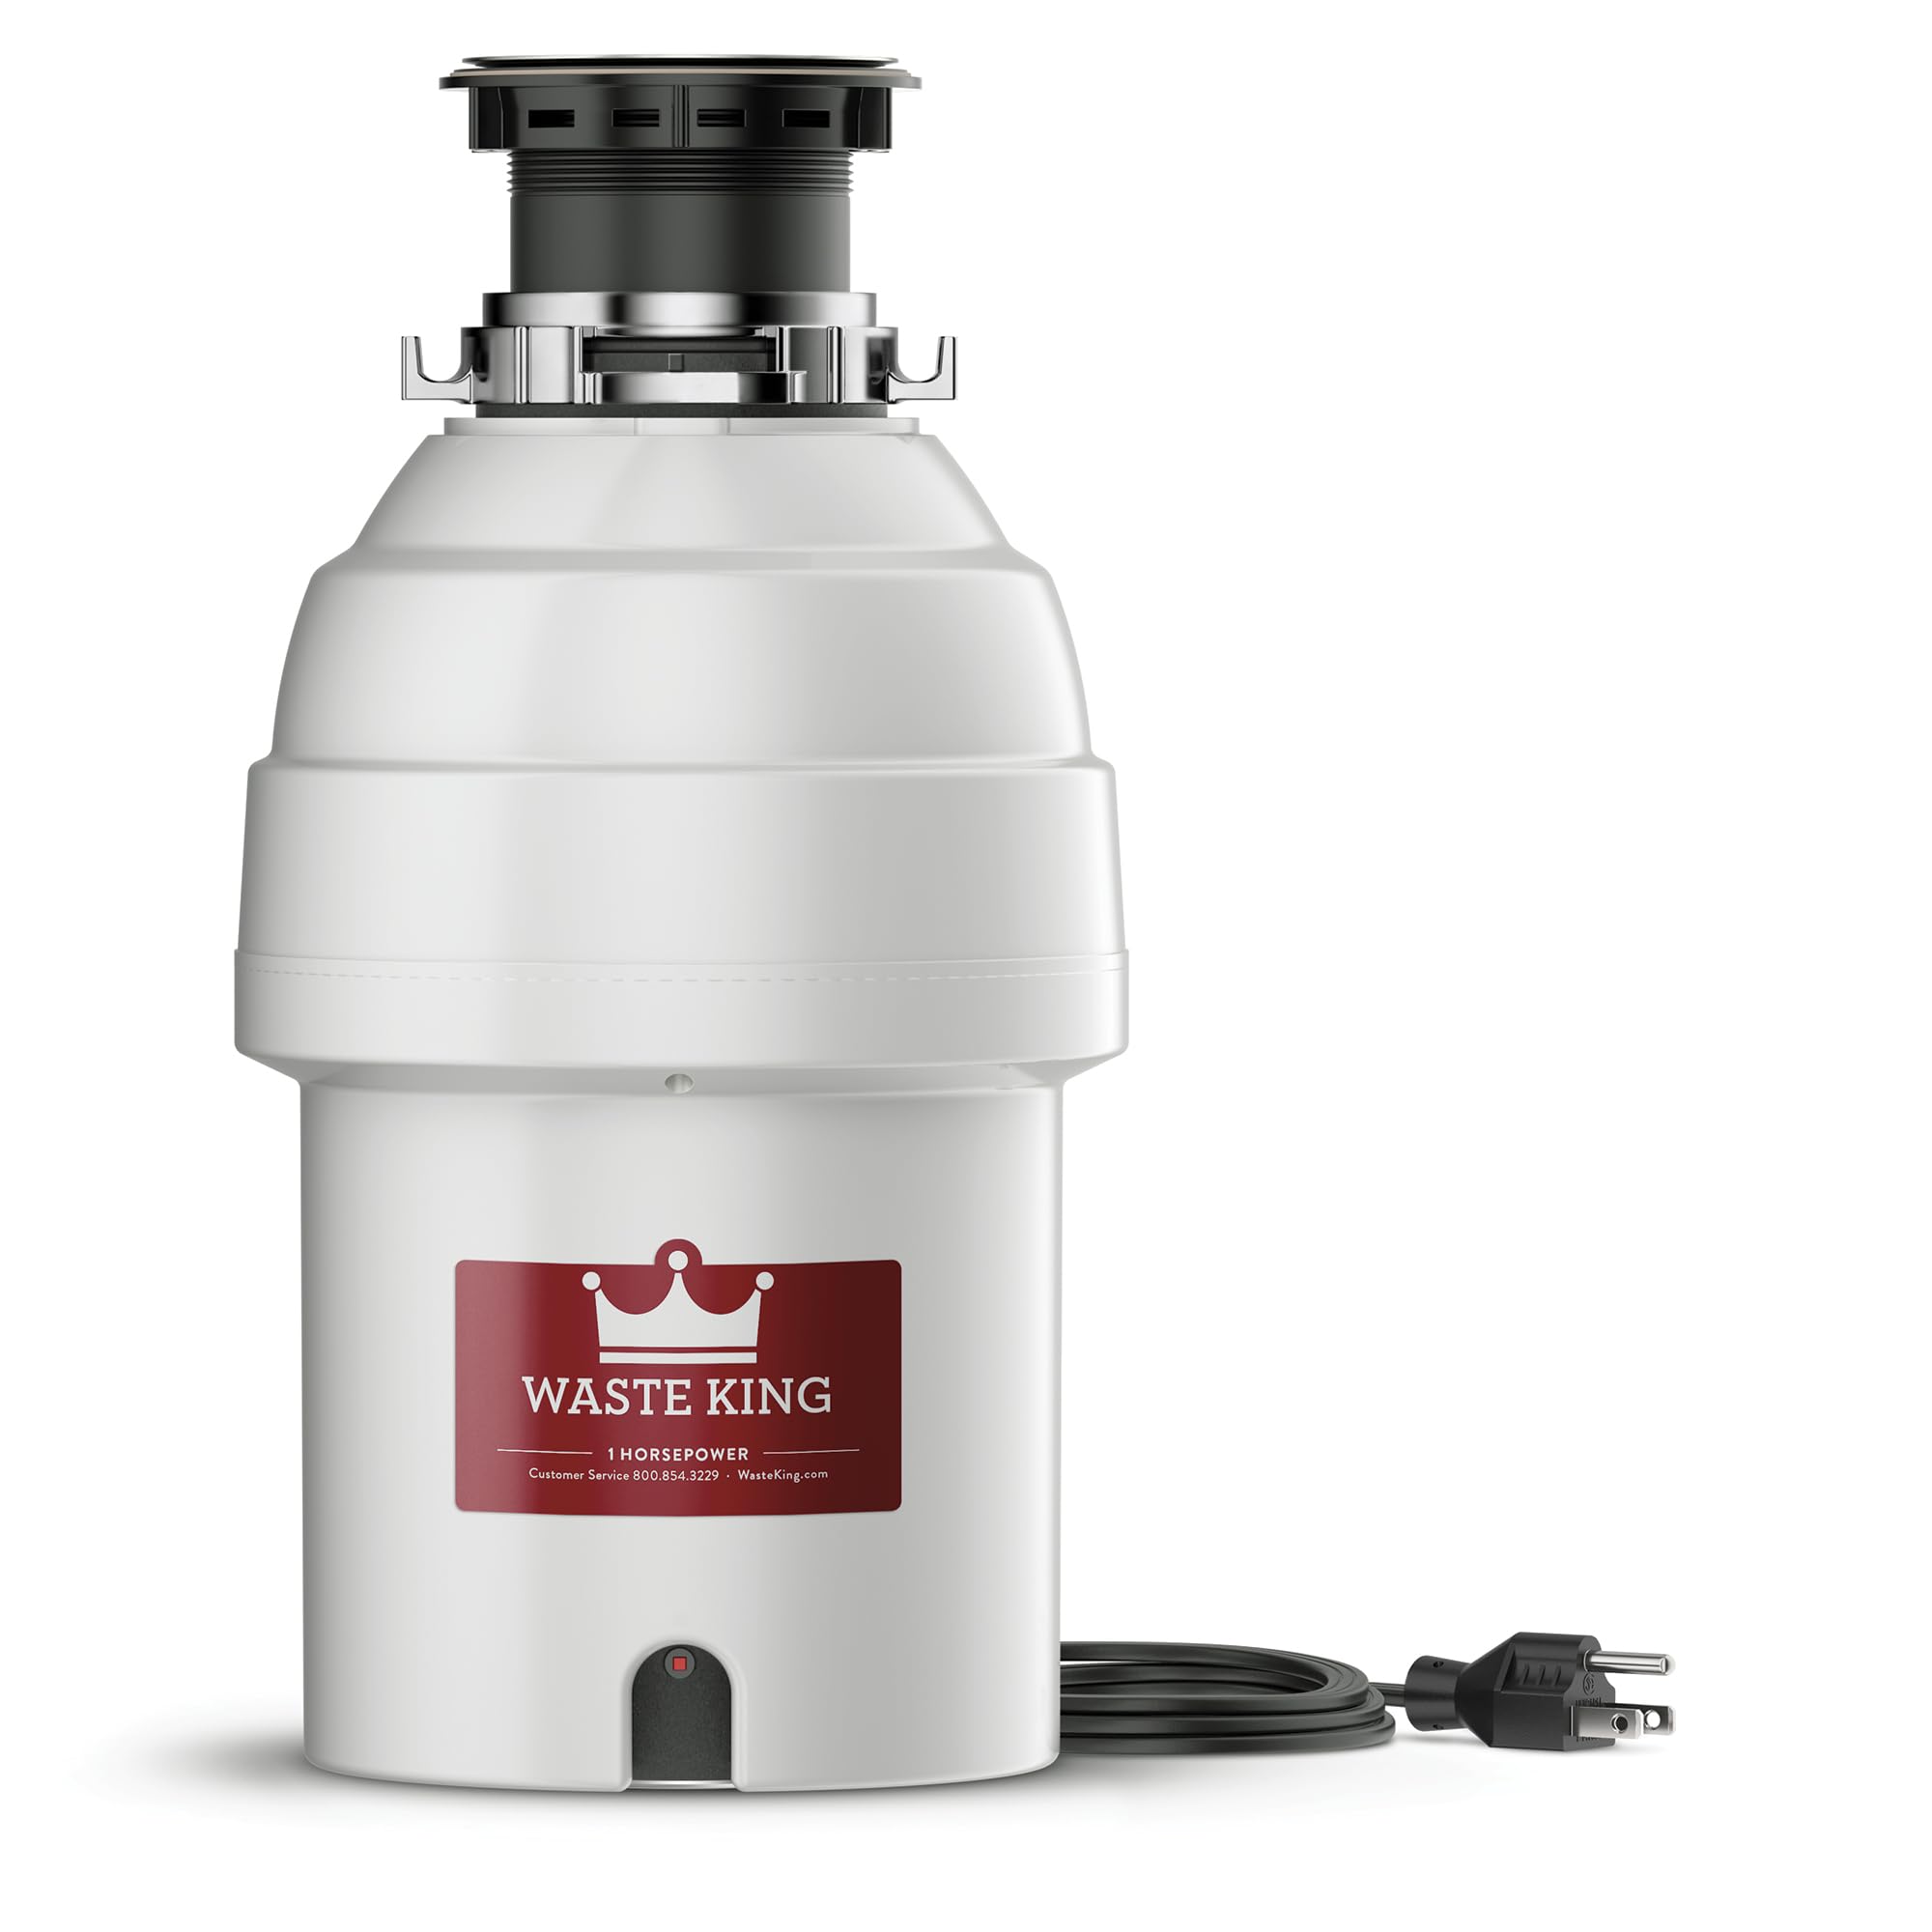
The Waste King L-8000 is a 1 HP continuous-feed garbage disposal featuring a powerful 2,800 RPM permanent magnet motor with sound insulation for quieter operation. It includes an EZ Mount system and pre-installed power cord for easy, no-expert installation. Durable stainless steel grinding components resist corrosion, backed by a 20-year limited warranty, making it a reliable, long-lasting solution for efficient food waste disposal in any modern kitchen.


| ASIN | B000DZGN7Q |
| Batteries Included? | No |
| Batteries Required? | No |
| Best Sellers Rank | #2,555 in Tools & Home Improvement ( See Top 100 in Tools & Home Improvement ) #5 in Garbage Disposals |
| Color | Gray |
| Customer Reviews | 4.3 4.3 out of 5 stars (46,198) |
| Date First Available | October 25, 2007 |
| Finish | stainless |
| Horsepower | 1 Horsepower |
| Included Components | drain elbow and mounting assembly, drain stopper, garbage disposal, power cord, reset button, sink flange, splash guard |
| Is Discontinued By Manufacturer | No |
| Item Package Quantity | 1 |
| Item Weight | 14.75 pounds |
| Item model number | L-8000 |
| Manufacturer | Waste King |
| Material | stainless steel | corrosion proof polymer |
| Part Number | L-8000 |
| Pattern | 20 Year Warranty |
| Power Source | electric |
| Product Dimensions | 7.5 x 7.5 x 16 inches |
| Size | 1 HP - Continuous Feed |
| Special Features | Lightweight |
| Style | Disposal Only |
| Usage | Food Waste Disposal |
| Voltage | 115 Volts |
| Warranty Description | Limited |
S**H
Waste King Legend 8000 works great, fairly easy install
Overall: Works great, fairly easy install (1 hour or less), much quieter than my Insinkerator Badger, much more powerful than the Badger (1 HP instead of 1/3 HP), replaced 3 bolt with EZ mount without any need for an adapter kit. Amazon: Lowest Price (just over $120), arrived three days after I ordered it even though I selected free shipping (don't yet have Amazon Prime, but thinking about it). Experience: I was trying to figure out what to buy to replace my broken Insinkerator Badger (12 years old). Consumer Reports rated the Waste King Legend 8000 the highest, so that was the default buy, unless I found consumer reviews that recommended otherwise. I read many of the reviews on Amazon.com as well as Consumer Reports, and most said that it was a great buy and fairly easy to install. I was concerned about whether the EZ mount would fit my sink, because my Insinkerator Badger is a 3 bolt mount. One Amazon review mentioned having to purchase an adapter kit to use the EZ mount if you had a 3 bolt install, but others said that they didn't need it, including those that bought and reviewed the adapter kit. I did not purchase the adapter kit, and I did not need it. I am not a plumber, and have only had a minimal amount of experience installing plumbing-related appliances, so I was ready to call a plumber if needed. Not once during the install did I feel that I was in over my head. 1. After reading the directions, the removal of the Insinkerator Badger took about 30 minutes (I was cautious and took more time). The helpful hint about using a screw driver to remove the snap spring did the trick in removing the hardware. 2. I followed all of the instructions, in order, including the hints, which were very helpful. I did use plumbers putty, as I do not have a stainless steel sink, but I did notice that another reviewer also used plumber's putting even though they were installing it with a stainless steel sink. The branding on the chrome top of the sink flange is very minor in my opinion. It was much less noticeable than the one on my Insinkerator Badger. 3. I had a minor leak after connecting the pipes, but it wasn't the Waste King and was just a matter of using a little bit of teflon tape amd rescrewing the pipes together under my sink. It is crucial to make sure that the pipes are screwed together properly or else there very well may be a leak. Check all pipes from both sinks. I also ran my dishwasher afterwards to check that connection (no leak). 4. I did use a little bit of soap the first time around, which was a helpful hint from another reviewer to reduce noise. I did notice that there is a little click when I first turn on the Waste King, which is the impellers swinging into place, but after that, the sound is much quieter than my Insinkerator Badger. For those who are worried about the product itself, I could not be any happier. For those worried about the install, I would say that, if you are the occassional handyperson around the house, and like to try things yourself, this install is a piece of cake. Once again, Amazon, and all of those who take the time to review products that they purchase really came through. I continue to be a very happy Amazon customer.
L**T
Great so far!
Surprisingly powerful for its size. Installation was straightforward, and it handles kitchen scraps effortlessly without getting loud. A fantastic upgrade if you want convenience and reliability in your kitchen. ⚙️✨ Easy to install too!
J**Y
Great product, little on the expensive side
Our old garbage disposal broke, and my husband replaced it with the Waste King Garbage Disposal for our kitchen sink. It arrived quickly and was easy to install. It’s been working great so far—powerful, quiet, and no issues at all. The only downside is that the price is a bit high, but overall we’re happy with the performance and reliability
C**N
Love it so far; good upgrade over ISE Badger
The old 1/3 HP ISE Badger garbage disposal in my house was in the house when I bought the home 10 years ago so the old disposer is AT LEAST that old. It worked pretty well for these 10 years, but during that time it would jam frequently which required me to use the wrench tool to release the jam. Last week, the disposal started inexplicably leaking from the bottom whenever I ran the water on that side of the sink. I didn't spend much time trying to fix it since I had been putting replacing it anyway and decided to go ahead and purchase a new one. I originally wanted a 1 HP model, but saw that the 1/2 HP was half the price and STILL more powerful than my existing one so I opted for the L-2600 Legend instead. Another plus is that it is much cheaper on Amazon then what I find in the B & M stores. So even though I had to wait a few days it sure beats paying double for comparable models in the local stores. The day after the disposal arrived, I went to my local hardware store to purchase the tools I thought I would need and based on what the instruction manual said. The things I purchased separately are as follows. 1) Plumber's Putty 2) Mini Hacksaw 3) Pipe Wrench 4) Wire Nuts 5) Assortment of different sized strain reliefs (called Clamp connectors in the store). Because I couldn't figure out what size I needed I purchased 3/8", 1/2" and 1 1/4". 6) Assortment of water tight connectors just in case Out of these things I only needed the Plumber's putty and one of the Clamp connectors I purchased (3/8" with 1/2" knockout). I returned the unused strain reliefs to the store but kept the hacksaw and pipe wrench to use for future projects. Function This disposal is amazingly quieter than my old ISE, which is good since I just replaced a noisy 10+ year old dishwasher last year. It seems to have no issues grinding up old food or jamming which my ISE seemed to do frequently. I think this is a good relatively inexpensive replacement for your old broken disposal or just as a nice upgrade. I purchased the 1/2 HP because I didn't want to spend too much since it was an unexpected expense. But from what I've read, for most people the 1 HP (Waste King L-8000 Legend Series 1.0-Horsepower Continuous Feed Garbage Disposal) is better especially if you have a big family and/or frequently have a lot of guests over for parties or what not. Neither of these apply to me and since 1/2 HP was STILL more powerful than the 1/3 that came with my home, I was still coming out ahead. INSTALLATION (DIFFICULTY) Power Cord -- Can it be removed? ---------------------------------------------- Before I continue, many people (like myself) may wonder if the Power Cord is removable, the short answer is yes its removable, I removed mine because all the appliances in my home are hard wired Here are the steps I did to remove the cord while preserving it if I want to go back and use it later 1. Unscrew the metal plate on the bottom of the disposal. 2. Find the wires that run from the power cord (should be a white, black and copper wire) 3. Depending on how the wires are connected you may have to use a wire cutter to free the wire from the connector. Mine wasn't connected with wire nuts, but a plastic connector that seemed to be a permanent connection so it couldn't be twisted off. So what I did is stick a utility knife under the plastic connector and cut away at the exposed wire until it came out. I repeated this for the other wire. 4. To remove the copper ground wire, I just unscrewed the green screw to release it. 5. Removing the power cord assembly is a little harder; to do this I inserted a flathead screwdriver end under the rubber plug and pryed it out; this take a few tries as its in there pretty good. A WORD OF WARNING: DO NOT use a utility knife to try to pry it out, I stupidly tried this since I was too lazy to go to my tool box to get the proper tool and ended up stabbing myself in the thumb with the knife after it slipped, after learning my lesson I got the flathead screwdriver instead. 6. Once the rubber plug is released you should now be able to pull the power plug out through the opening. 7. Don't forget to use a wire stripper to prepare the remaining wire under the disposal to connect to your existing wires in your home. ---------------------------------------------- Installation of the Waste King itself was pretty simple; removing the old one...not so much. Prior to me installing a range hood and a dishwasher last year I had no experience installing appliances, but I was able to install this disposal by just following the instructions provided in the manual. Comparing this install to my range hood (non-vented), and my dishwasher, i would say it's harder than installing the range hood but slightly easier than installing the dishwasher. My old disposal wasn't connected to my dishwasher so I decided not to connect the Waste King to it either. I may go back and connect it later on, just not right now. If you want to read on about my installation experience it starts below, otherwise you can stop reading right here. INSTALLATION (TIME AND PROCESS) The install took me 7+ hours. Not because the new garbage disposal was hard to install, it was because the old one was such a pain to get out. While I had no issue getting the disposal itself out, the old sink flange was virtually impossible because it looks like the people who installed this disposal screwed the mounting bracket on too tight and ABOVE the threading on the lower part of the sink flange. As a result, no matter how many times I turned the mounting bracket it wouldn't go anywhere because it wasn't catching the threads to move down and come loose. If the sink flange and mounting bracket weren't so old, I would have just installed the Waste King over on that using the Easy Mount adapter kit, (which I bought separately just in case). But because it was so old and I really wanted to switch to the easy mount system anyway, I was determined to get it off. Normally, after removing the old disposal, you should be able to screw the mounting bracket off from under the sink and lift the sink flange up from the top of the sink. However because the mounting bracket just would not screw off because it didn't seem to be able to catch the threading. I decided to try to bend the edges of the sink flange that sits on top of the sink far enough so I could push it down through the sink instead of lifting it up. However I had no idea was I was getting myself into when deciding to try this. This process alone took a good 4 to 5 hours because whenever I would bend one side another part would stick out making it too wide to go through. After about 3 hours of using my wrenches (the hacksaw I bought was useless in cutting the flange), I went to the garage and got my tree branch cutters to try to cut the old flange so I could bend it more. The branch cutters made the job a little easier but still took almost two hours to get the flange bent enough so that I could push a part of it under the sink so I finally hammer the rest through. I also ended up slightly damaging the circular opening of my sink in doing this, but hopefully the plumbers putty will continue to stop any leaks as a result of the damage. UPDATE: Turns out I made this much harder than it needed to be. After examining the old sink flange assembly after removing it, I noticed a metal ring around the top of the threading that was preventing the bracket from screwing off. I did see this when trying to get it off but didn't know what that it was a separate piece and I thought it was part of the threading. Just out of curiosity I inserted a flat head screw driver around the edges of the metal ring and it popped right off making the mounting bracket easy to screw off. I am kicking myself for not seeing this before and it would have saved me 4 hours and would have prevented the damaged I caused. Oh well, I'll know for next time and hopefully you won't make the same mistake I did. After FINALLY getting the old sink flange off, installing the new disposal with the EZ Mount System was pretty simple. I put the new sink flange in and following the instructions, checking for and correcting any water leaks before I continued. While following the EZ mount instructions I didn't think the rubber cushion would be strong enough to hold the disposal without falling down, but a quick check showed that it would hold. After getting the sink flange prepared to hold the disposal next was the task of connecting the wiring. If you have an outlet under your sink, then USE it, it saves about a half hour of labor. Unfortunately I don't have an outlet under my sink and I didn't want to incur the extra expense of installing one under there, so I had to stick with hard wiring. As far as connectors go, I ended up using one of the water tight connectors instead of the 3/8" clamp connectors I originally planned to use. Reason being is that while testing out the connectors to see which ones would fit, the water tight connector was a perfect fit and I just never took it off and after the ordeal of getting the old sink flange off, I didn't want to waste any more time. I used my tool box to lay the waste king on then I connected it to the wiring in my home. The hardest thing here was getting the ground wire around the green screw. So I just ended up taking the green screw out completely, placing the ground wire directly over the hole, and then screwing the green screw back in. After I had the disposal connected to my wiring, all that was left was to mount the Waste King to the sink flange. This was incredibly easy and only required hammering to get the notch to the locked position. After mounting the Waste King now was the time to reconnect all the pipes. Because I don't run my dishwasher to my Garbage disposal, I only had one pipe to connect and surprisingly, the opening of the waste king was at the exact same level as my old ISE was; so the old pipe lined of perfectly. Everything was now hooked up so I turned the power back on to the disposal and let it run with running water. And SURPRISE!! Leaks! Leaks from under the sink, and leaks from the piping. I applied more plumbers putty under the sink as well as re attached the pipe and tried everything again. This time there were no noticeable leaks but I still am not ready to call the install a success just yet. I did this install on the 26th of March and have been monitoring it periodically for and standing water under my sink. So far no leaks, but I will probably give it another week or so before I'm 100% confident in my install.
A**E
Pros: Cheap Easy to install Lots of power Cons: Not enough noise to scare the cats off the counter anymore After moving out of an apartment with a disposal into a house that didn't have one, I really started to notice how much organic waste was thrown into the trash and since it was just two of us it would sit for a week for garbage day. I looked hard around at stores near by and at online reviews for them. They were all 300+ and didn't have as many good reviews as this one. I risked it and couldn't be happier. I received it in less than a day for a small fee(something like 5$ more). Ordered Monday and got it Tuesday around noon. The install was simple and the Easy Connector that was included was a breeze to put together. I do recommend doing what it says in the manual and put the whole system together outside of the sink. The power is amazing. It shreds everything. The only thing I haven't tried is banana peels which my old disposal had problems with. The noise level is on par with what you would expect from a 1hp motor. It was actually quieter than our old one but I'll chalk that up to the age of it. There is a slight "ting" sound if you turn the motor on with no waste down the drain. I assume it is from the actual moving bits inside hitting the stoppers, but if there is food it there you don't hear it. It's been install for about a month now and had no problems at all with it. Would defiantly recommend this one.
A**N
Item is very well packaged and appears good, however I had to return it as it doesn’t fit my needs. Return process was very smooth and pleasant
A**A
Este aparato viene con un enchufe americano, como muchos, pero después de pagarle a un fontanero 2 horas para que me lo instale resulta que funciona SOLO a 115V y se ha quemado al instante!! Voy a poner una queja ahora mismo a Amazon por permitir la venta en Europa de un articulo que funciona solo a 115V sin que se describa clarísimamente en la descripción del mismo!!
C**N
Ottimo prodotto, dita disponibilissima contattata con risposta quasi one line. Di dimensioni ridottissime non ingombra molto a confronto di tanti altri, sostituito il mio che era quasi uguale di facile montaggio anche con poca esperienza. Lo consiglio veramente
J**A
Excelente producto, muy duradero, gracias a esto ya no necesitamos tirar restos organicos a la basura, todo se va al triturador, ojo solo evitar tirar cosas fibrosas ya que estos tapan el drenaje.
Trustpilot
3 weeks ago
3 days ago


