
DOWNLOAD THE APP


Customer Services
Copyright © 2025 Desertcart Holdings Limited
DOWNLOAD THE APP


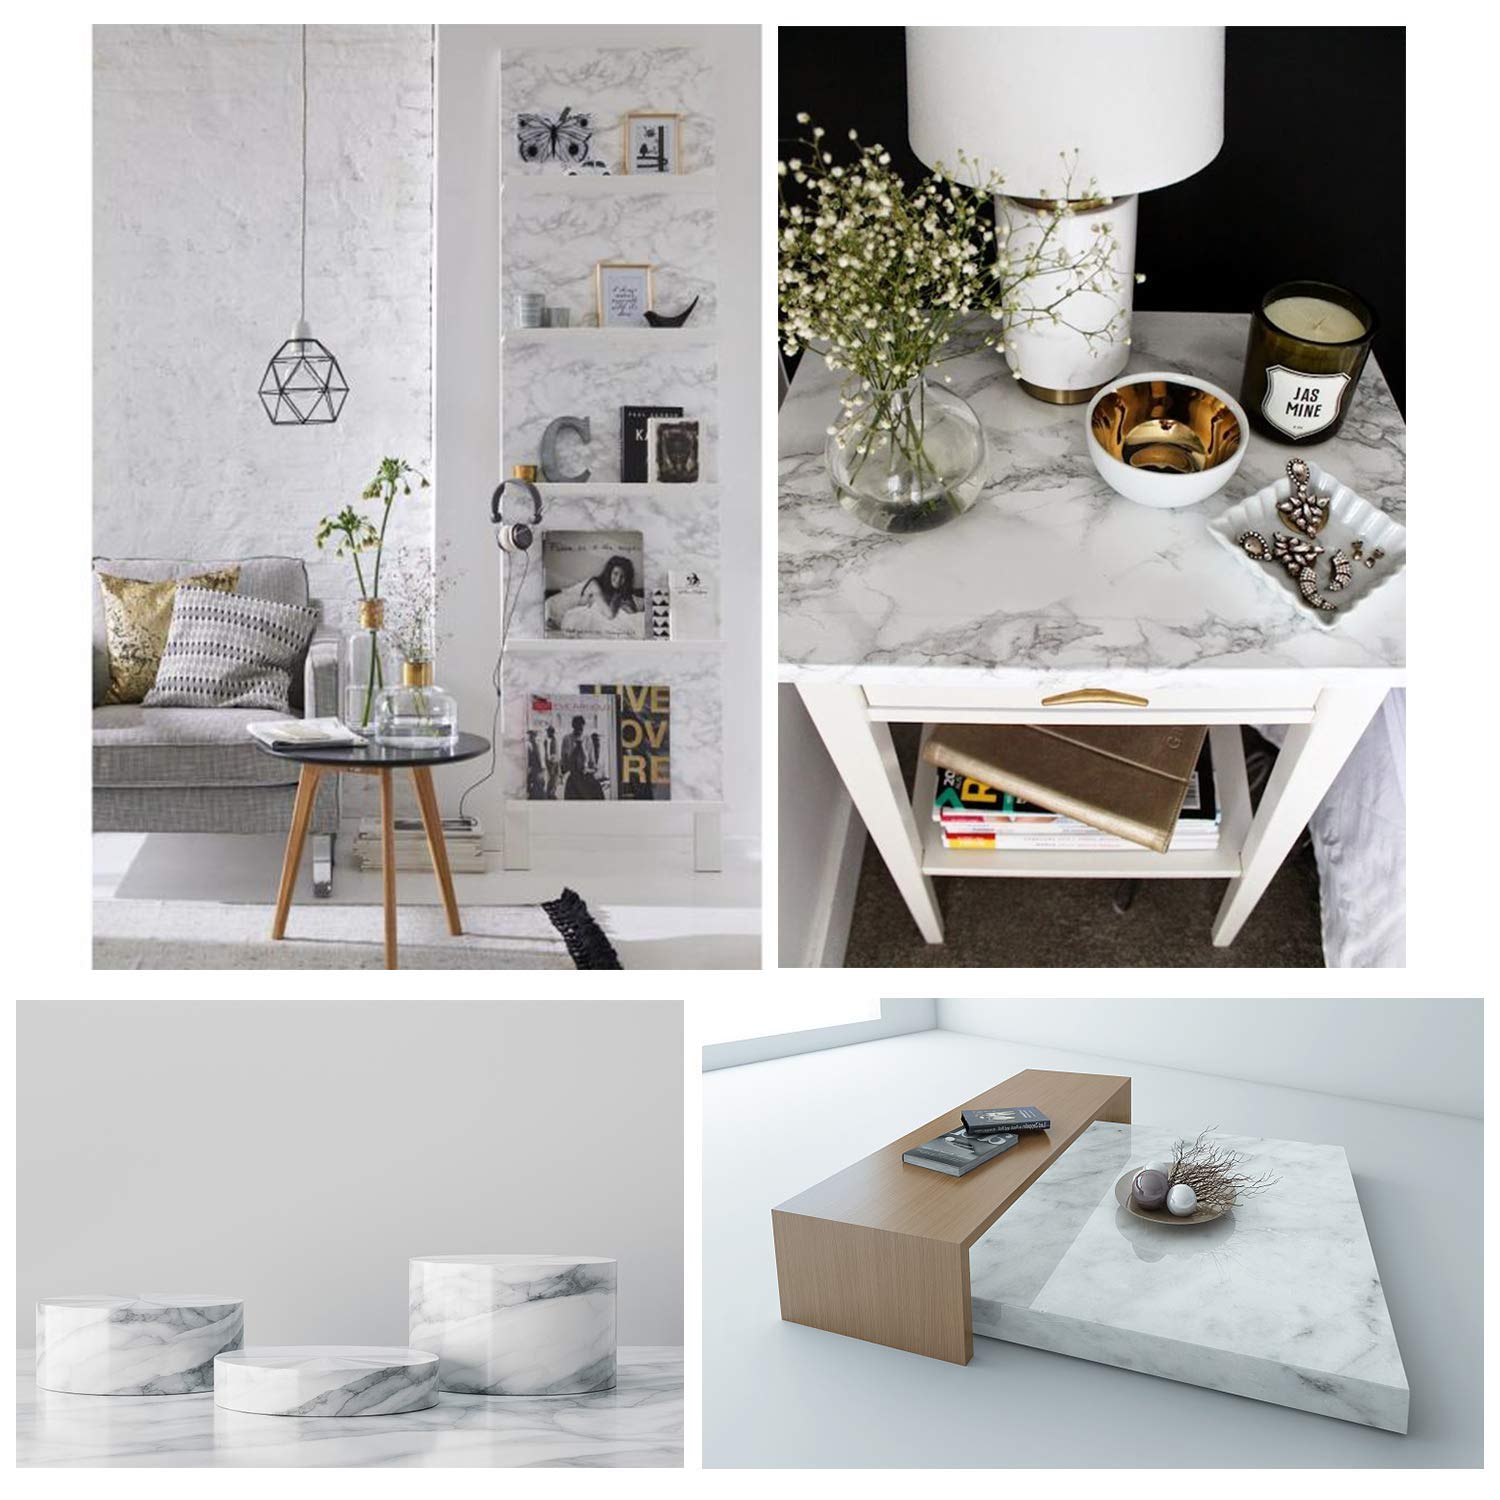
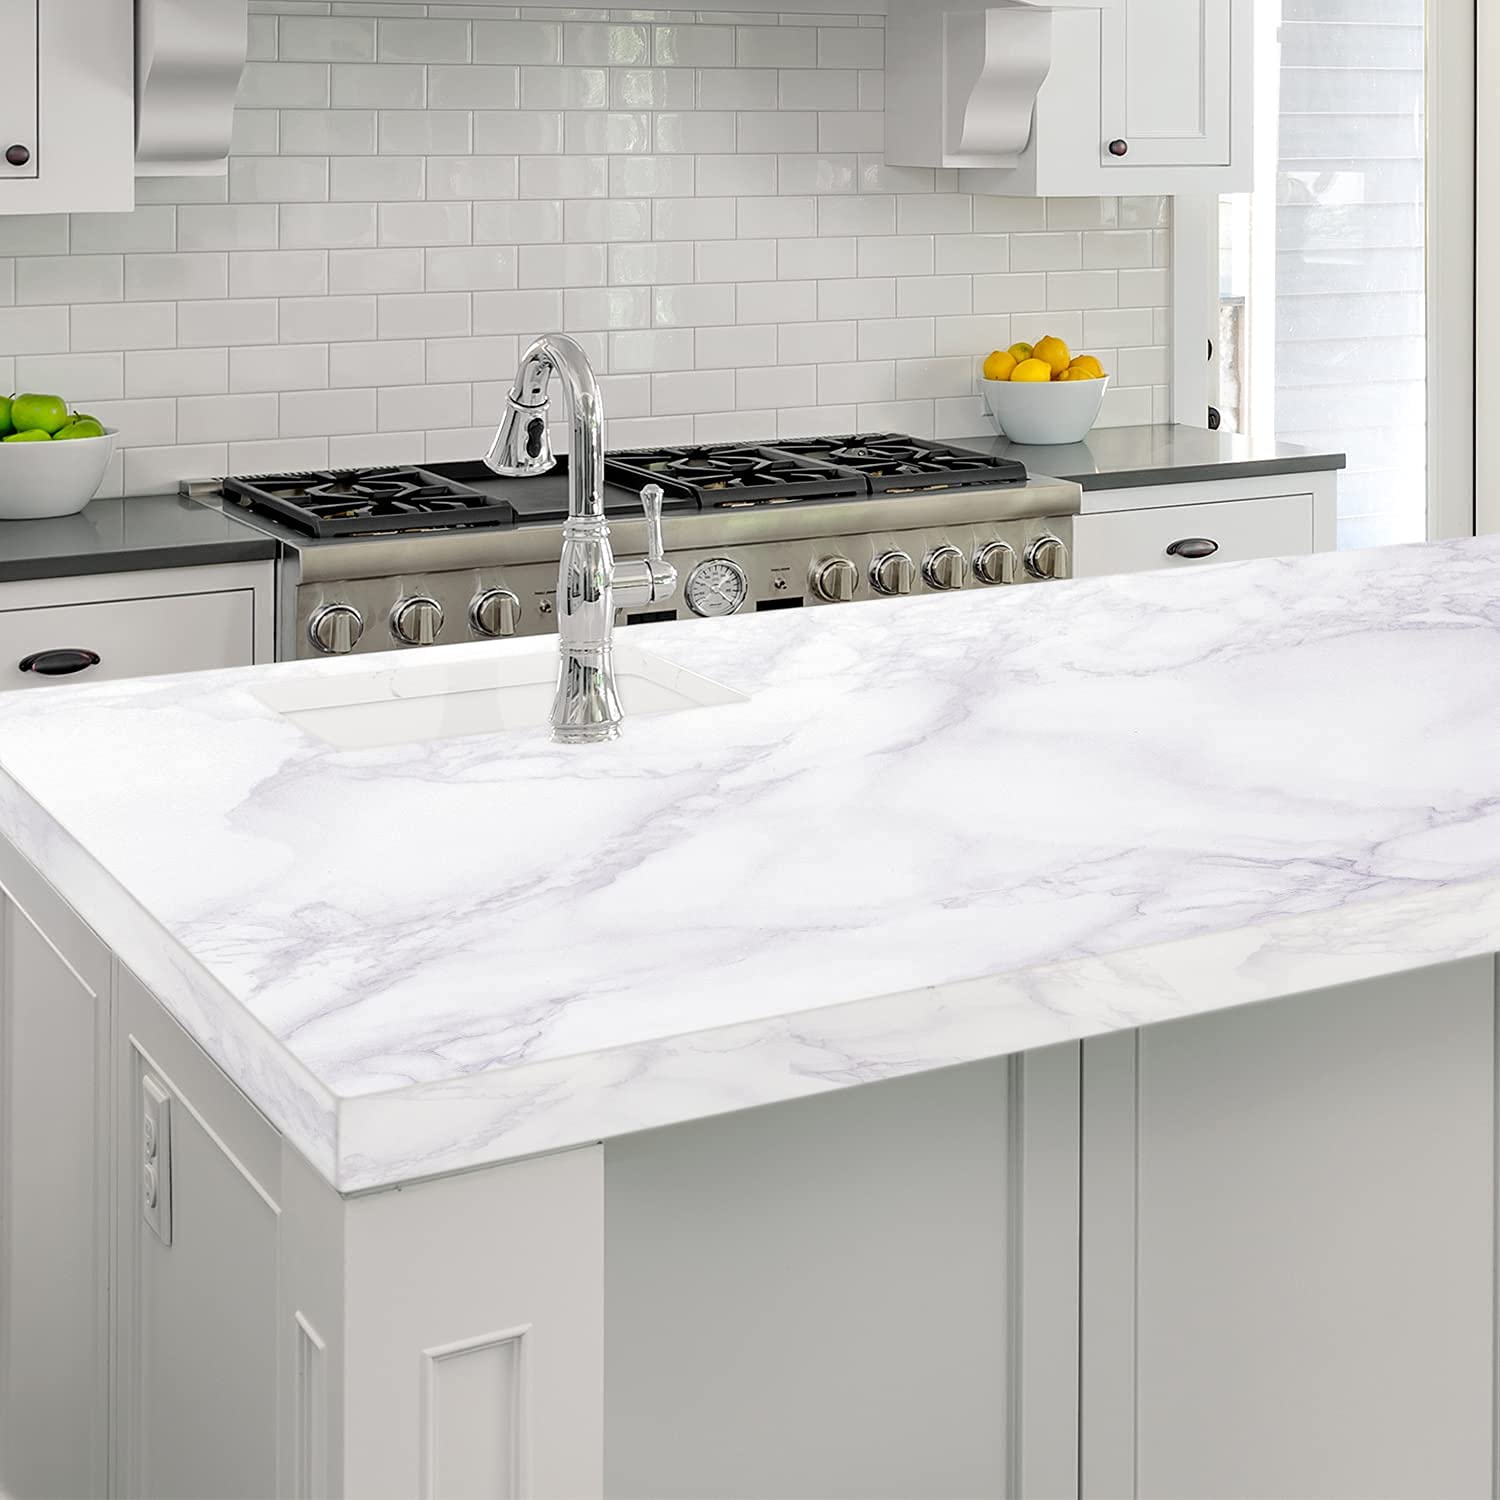
✨ Revamp Your Space with a Touch of Elegance! ✨
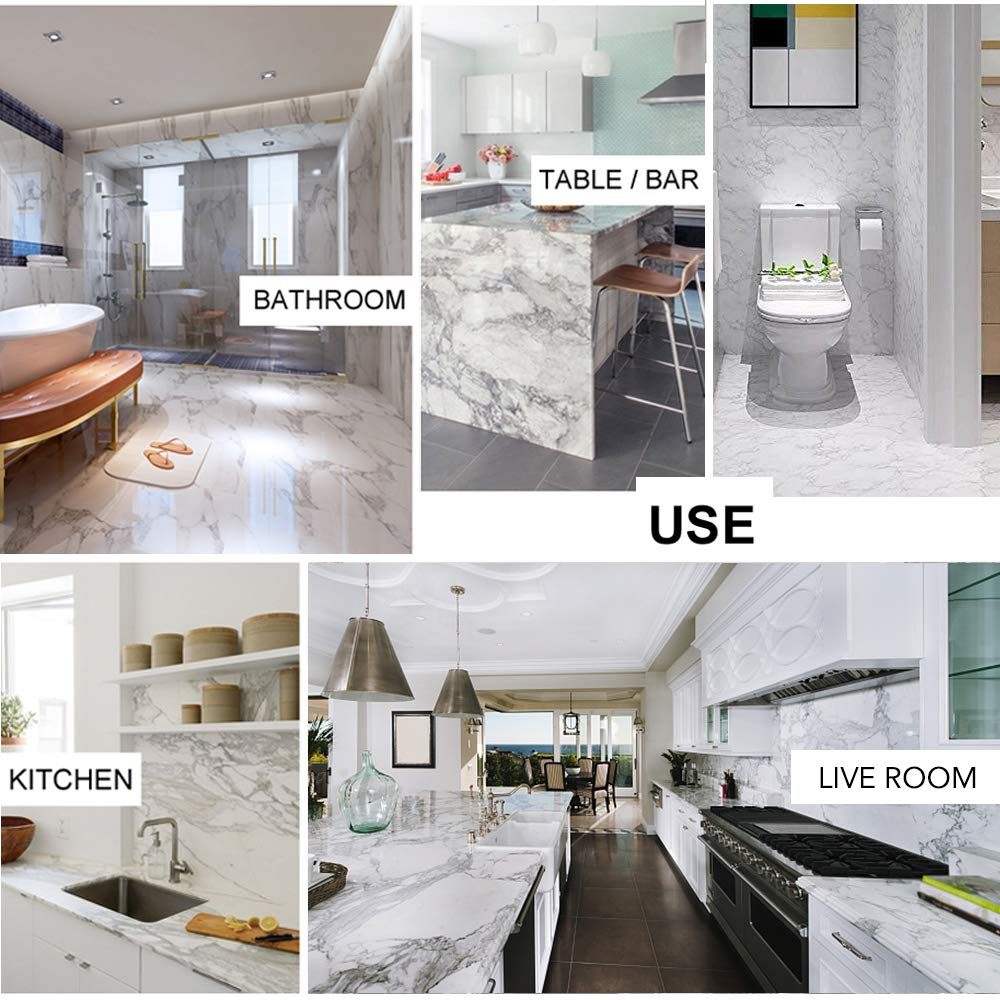
The AROIC 16" x 400" Contact Paper is a high-quality, self-adhesive marble wallpaper designed for easy application on various surfaces. Waterproof and oil-proof, it’s perfect for kitchen countertops, cabinets, and more. With gridlines for precise trimming and a satisfaction guarantee, this product offers a stylish and practical solution for home decor.


L**A
Renter friendly kitchen counter upgrade!
I live in a rental home that has some pretty outdated features, especially in the kitchen. Was searching for ways to upgrade without permanently changing anything that were also within the realm of my abilities as someone who doesn’t really know what they’re doing, ever, but loves to DIY anyway. Definitely recommend this!This contact paper was easy to install with just myself doing it. Has good adhesion except for on the underside of the counters, but I don’t blame the contact paper for that. It’s heavily porous under there and not much would stick to it (nothing a little hot glue dabs didnt fix though!). Went on smoothly but I would definitely recommend a few things that I’ll list below. It’ll make it all so much easier! Also, a helper would speed things along but I was able to manage on my own. Hardest thing is to line up the seams. What I did was pick just a bit of the backing off of one corner of my pre-cut piece, line it up and then start smoothing back from there. The print doesn’t line up perfectly, but I kept everything going the same direction even if I had to cut awkward pieces since that’s what a big old slab of marble would look like. Overall turned out very nice!Here’s some things I found helpful;1) get a wallpaper smoother kit. They usually recommend one when you’re looking at this product. I bought an eight dollar kit on Amazon and that felt lined smoother and stick cutter thing came in clutch for sure. You could use a credit card but I felt that anything remotely sharp would tear this paper while installing since you’re tugging and trying to get a super smooth finish.2) bust out the hair dryer or, if you’ve got one handy, a heat gun. That is absolutely necessary to get the paper to form seamlessly to corners or around the ledge of the counter. I used the low setting and once the paper heats up it’s almost like shrink wrap around the edges.3) use a kitchen degreaser and scrubbie on your counters before installing. I used 409 and a scrub daddy, let it soak for about five minutes, and then wiped it down. I definitely noticed the difference between the surfaces that I knew I got super clean versus the ones I rushed on. I also used a scraper that I had around the house to lightly go over each area I was about to work on to get rid of any particles that were stubbornly clinging to the old surface. Trust me, you can see every imperfection if you miss something. I laid one piece down over a teeny tiny spec of paint that was there from a good old landlord-special paint job and it was very visible. Had to pull it up, scrape, and lay it back down for that flawless finish.4) caulk around the sink and the edges (like where your backsplash and surface meets) to not only help it stay dry under the paper but to also give it just a liiiitle bit more realism. I know it’s obviously contact paper when you look at it, but from far away it’s serving a pretty good marble impression for me. I got a cheap caulk gun from Walmart and some kitchen/bath Dap caulk. It was a struggle since caulking is apparently not in my wheelhouse of talents, but a guy on YouTube said to spray Invisible Glass down after you do your caulk line and that definitely helped with keeping the caulk from sticking to what I didn’t want it to stick to when I was doing the finger swipe thing.5) if you have appliances on your counter tops that produce heat go ahead and snag some heat resistant silicone pads (you can see the one I have under my air fryer). Of course contact paper is nowhere near as hardy as a regular kitchen-grade surface, so I’ll really have to take care of this stuff. I got some trivets from Walmart as well because you do not want to set a hot pot or skillet down on this paper.6) be generous with your measurements. I bought two rolls even though technically, based on my super accurate (not!) calculations I’d need one roll. I’m glad I got another though because I messed up in some areas and had to redo or I cut pieces too short in my rush to get everything installed. Now I have more on deck for when this gets worn out, and I can replace easily. And it will wear out; the corner that I always bump into in the morning is already starting to peel a little. Thinking of slapping some UV clear topcoat nail polish on that corner to help with longevity.A word on the two rolls though!!! —there is a marked difference between the first rolls color and the second (see my image with the air fryer). One is stark white and very opaque while the other is a grayer hue and more translucent. Worked out fine for me for the most part because the air fryer covers up the majority of that section and my counter tops were white prior to installation. Something to be mindful of though! Had to use the greyer hued roll on a little elevated portion of my counters, but as long as it’s not side by side you really can’t tell the color difference is off from a distance.Overall you can’t beat this stuff for what it does and what it cost. My kitchen looks just a bit more modern and brighter and I Can remove this easily (it does come up and I didn’t experience any sticky residue when I was fixing sections) when I move out. I also did a peel and stick backsplash and threw some darker shade Briwax on the cabinets to really transform the space. You can see the change in the before and after pictures!
T**H
Best quality for counters
This stuff is expensive but it’s great!I used this on kitchen in bath counters in rental and it looks great and very durable.I’ll probably only buy this brand for any other purchases. Thick durable and easy to work with and looks really good. It doesn’t look cheap. I cook a lot and it has really held up.
S**W
Not 100% opaque, but looks good overall
This stuff works pretty well, and it's a decent print quality and pattern, which makes it look good overall. The pattern is widely varied, so I think it would be hard to spot a repeat (I haven't on my 4.5' counter). The texture is kind of orange peel. This stuff is fine, and you can actually do a decent job of doing rounded corners by using a hair dryer to shrink-wrap it as best you can.My one main complaint with this stuff is that it's fairly thin, which is good for workability, but bad for color. This stuff hides the pattern of my dark laminate countertops, but there's a big difference between how the marble looks on its white backing paper vs. how it looks on the counter. On my dark countertops, the marble takes on a blue tint that makes it look a wildly different color than my off-white sinks. It does completely hide the printed pattern on the laminate, though--it just takes on a tint. When I tried it on my beige kitchen counters, the color difference was less pronounced but still present.Also, because it's not totally opaque, any layering AT ALL is extremely visible. To get a perfect seam, you need to overlap the two pieces, then use a very sharp knife to cut through through the overlap, through both pieces, and then remove the trimmings. To get the bottom sliver of contact paper, you have to peel up the edge of the upper layer without warping it to remove the trimmings from underneath, then lay it back down to get a perfect match. It's tough to do this without warping, but it's possible.Overall, I'm pleased with the improvement to my bathroom.
I**L
I love the upgrade!
This has definitely upgraded my kitchen. I wanted to wait awhile before actually deciding to review it because I wanted to see how well it holds up.It’s been a little over a month now and I will have to say, it’s held up great! But.... I do have some pros and cons.Pros: The Adhesive is very strong, the surface is water proof. Water literally beads off of it, when needing to measure for install, it has the grid lines for better guided cutting and it’s beautiful.Cons & suggestions: Though it has so many benefits to it, the cons did make it a little challenging for me. If youre not a pro at this and you have curves towards the back of your counter, I would suggest that you not install a whole piece with the back and top of your counter connecting. The reason is because it will cause air bubbles in the curve. And since the adhesive is very strong, when you try to pull it back off to re-lay it, it stretches and compromises the shape. Cut one piece specifically for the back and one for the top. Using a heating gun or blow dryer is helpful but do not hold it over the pieces for more than 3 seconds at a time because this may cause to compromise the sleek shape of your wrap which would cause kinks and air bubbles. Please keep in mind that this is a plastic like material. Which means to ALWAYS use a cutting board when cutting goods because it will cut through the wrap. Also not a requirement but putting a fresh edge of chaulking once you’ve finished will really make it look authentic.Once I had finished it, I felt so accomplished because it was a challenge. Not due to the product but due to the design of my counter. I hope this helps.
M**Z
Very beautiful
I used this on my kitchen counters in my rental. I got so many compliments and everyone thought it was real marble! Quickly took an outdated kitchen to a modern and sleek look. Kept on for one year and no problem with peeling! Adhesion was amazing.
Trustpilot
3 weeks ago
1 month ago