
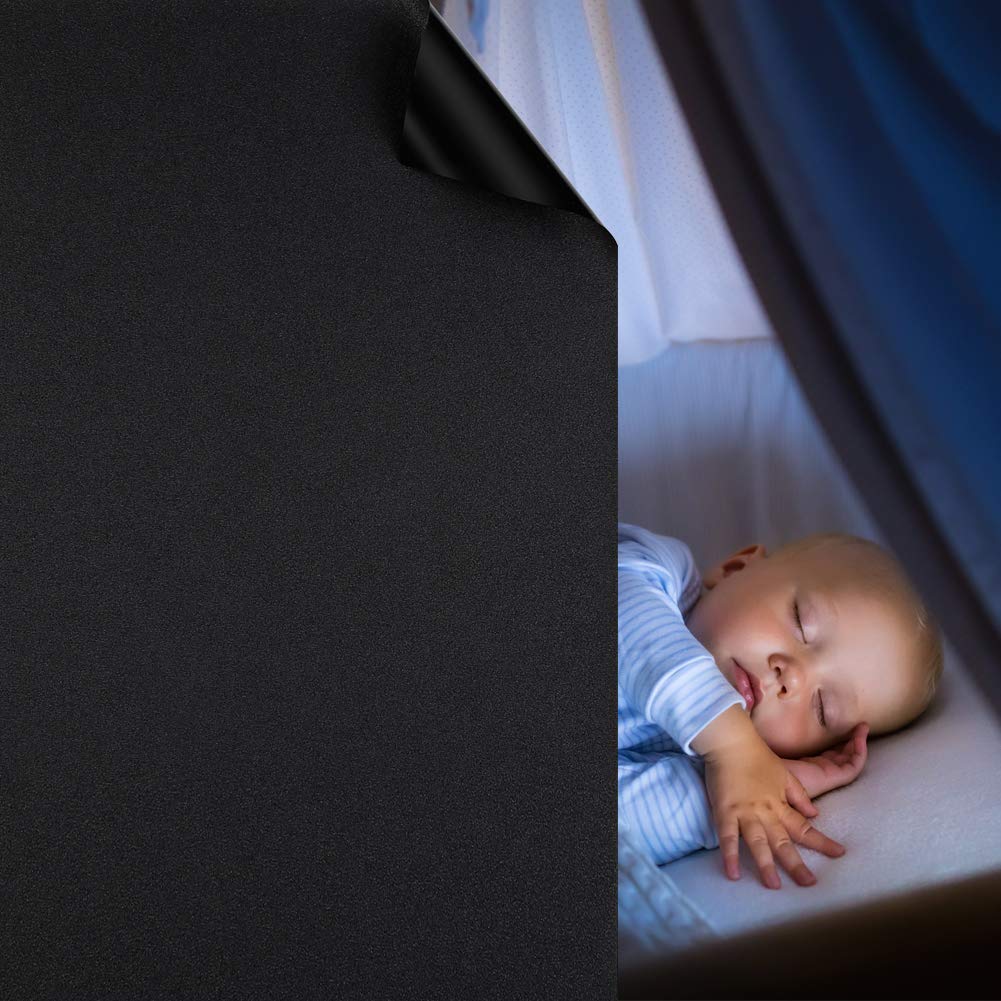


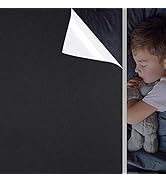
🌑 Transform your space into a private sanctuary with zero hassle!
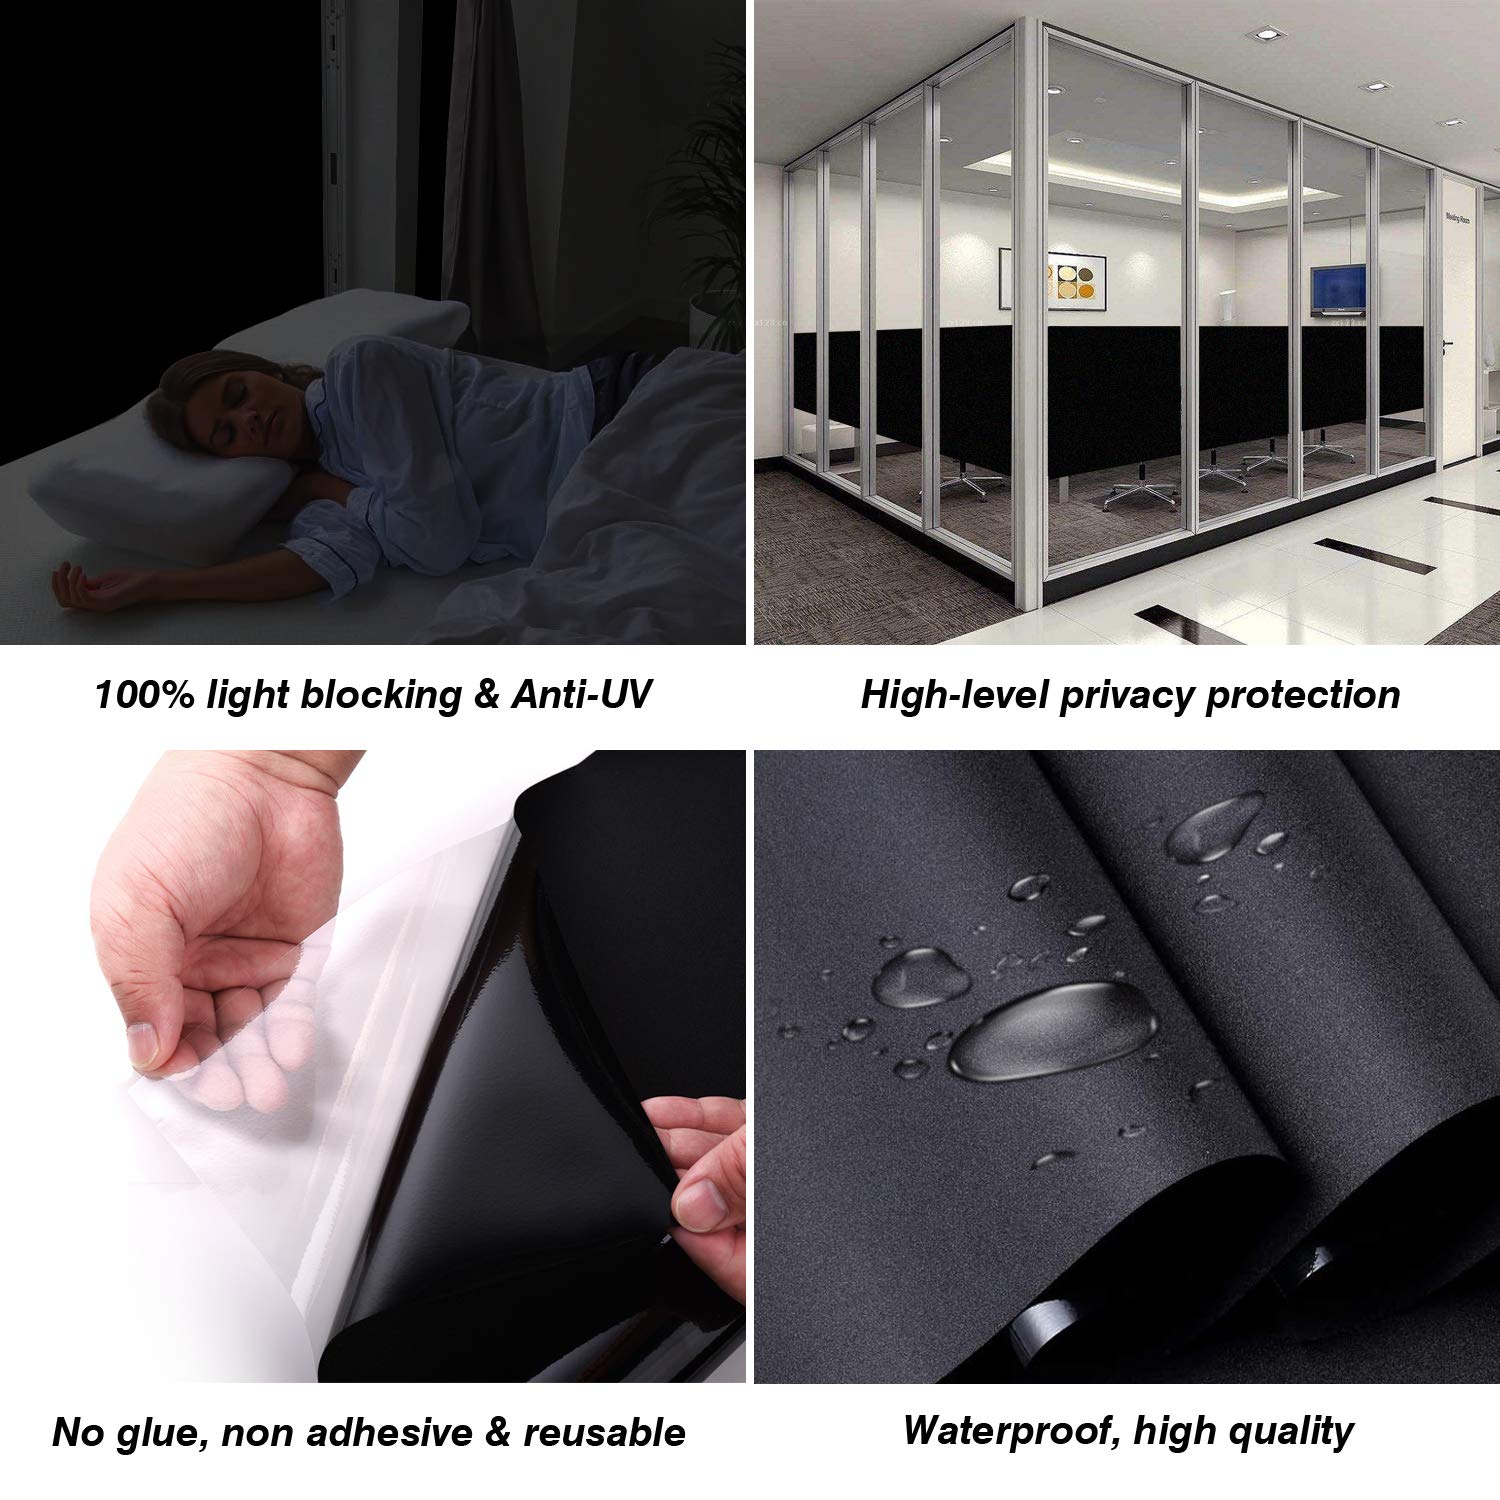
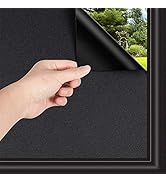
WochiTV Total Blackout Window Film offers a premium 100% light-blocking, non-adhesive static cling solution that ensures complete privacy and energy savings. Made from eco-friendly PVC + PET, it installs easily without residue, protects against UV rays, and enhances safety with explosion-proof, waterproof features. Perfect for bedrooms, nurseries, and any space craving darkness and discretion.


| Best Sellers Rank | #318,279 in Home & Kitchen ( See Top 100 in Home & Kitchen ) #342 in Window Films |
| Brand | WochiTV |
| Color | Black |
| Customer Reviews | 4.2 out of 5 stars 5,345 Reviews |
| Installation Type | Static Cling |
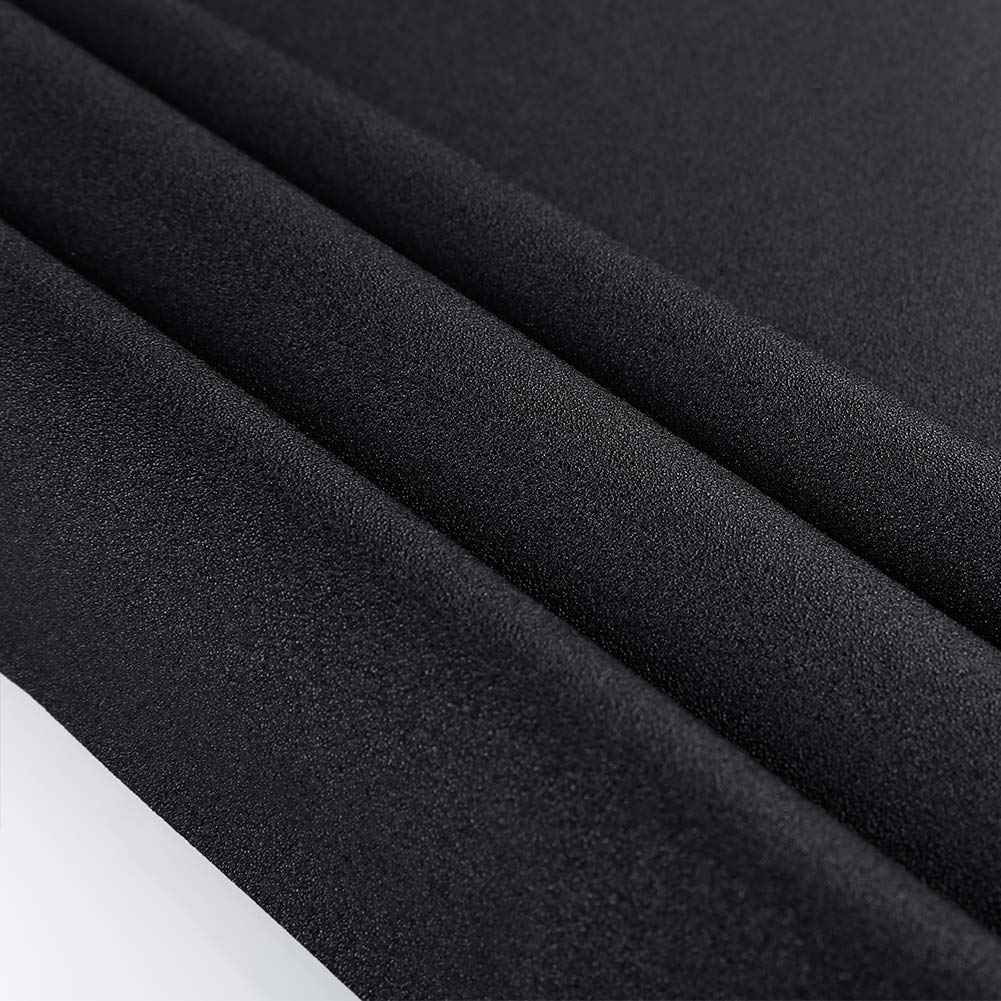
| Material | Environmental PVC |
| Product Dimensions | 157.48"L x 23.6"W |
| Size | 23.6 Inch x 13.1 Feet |
B**Y
Enough for entire sliding glass door
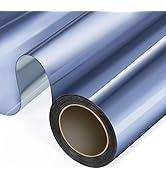
Ordered the blue tint for our sliding glass doors. There is enough to cover both sides with an inch or two excess on all sides. Installation was tricky and is best done with 2 persons. The hardest part was cutting to dimensions as you need a large flat surface and the protective plastic film on the reflective side is thick and wants to re-roll. (Ruler markings on the protective plastic side would have been helpful). The reflective side goes on the glass. We had to spray the glass with water, place the film in position while pulling off the protective film all at the same time. (Be liberal with the water). Use a wet squeegee or rag for bubbles. (Don't sweat the tiny bubbles!) The film can be removed anytime with no damage to the glass. The film adheres well, even at the corners. The blue tint has a cooling effect indoors. The reflective side provides privacy, protection against indirect radiant energy, and reduces glare. We love this product and the effort to install it was worth it.
E**C
Quick and Easy Install
This works very well. From the outside all they see is a mirror. NOTE: at night if your lights are on, it losses its mirror effect and you can see in (never found one that didn't). EASY EASY to install. You do not need all that extra stuff to install. I installed it by myself. To clean the glass: I used a solution of 1/4 cup vinegar and 1 cup water in a spray bottle and paper towels or newspaper to wipe clean. Do NOT use ammonia based cleaners. For the "Application solution" I used a spray bottle with soapy water. (about 1 tsp dish soap to 1 cup water and shake well). Tip: Measure the glass in the window, measure and measure again before cutting the film. Add 1/4-1/2 inch overlap at bottom and side. Use a razor blade to cut off any excess after set in place. Tip: This is a vinyl film. No adhesive needed. It static sticks and you can easily unpeel and reapply to line it up just right. I suggest peeling the backing about 1/4 down from the top. With both hands line up starting a one top corner and top edge and work your way downward. The soapy water allows it to stick yet slide a little as needed. I worked the bubbles out with my hand. Definitely recommend.
P**J
Provides Excellent Daytime Privacy
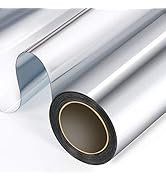
I got the silver in 5 rolls. I noticed on 2 of the rolls, they had an indentation, almost like a small cut but still usable. Easy to install once you get the hang of it. You need: TO CLEAN WINDOWS: - Windex - Scotch-Brite Non-Scratch Scrub Sponges - Shower Squeegee - Scraper with Double Edged Blade (optional) TO INSTALL - FOSHIO 1PCS Green Squeegee Scraper Shower - Spray bottle - Johnson's baby shampoo (JBS) - cutter - Metallic Ruler (optional) Make sure you clean the window properly. To wet the window and the tint, mix water and JBS. Just a very small amount of JBS where you would have very minimal bubbling. Too much will make it slippery and will be harder to install. I think one of the reason why some complain that they can't remove the bubbles is because of using the wrong tool and technique. Get a squeegee with a handle (see my recommendation) because with it, you get more leverage to squeeze out the moisture when installing. You should also wet the film from outside when using the squeegee because it helps the tool slide better. The tint material is thick. You can put a lot of pressure on the squeegee to squeeze the moisture out which is good if this is DIY project. Once installed, you might see some very small bubbles (like a dot) here and there. After a few days, they disappear. From a far, the tint looks great. If you inspect very closely and at a certain angle, you would see some sort of a streak or pattern on the tint (see pix on what you can see from the other side, some distortion). So it is not like a mirror finish. I would rate the quality 3 out 5. I guess at this price point, I can't complain. I gave it a 4 rating overall. 20200711 Video Added: Using squeegee to remove water between tint and glass. One I’m using I highly recommend.
A**N
like putting on a giant screen protector
i bought this tint for the sliding glass doors in my bedroom to keep the afternoon sun from turning it into a sauna. like most during this heat wave, my ac seems to have been running nonstop in order to keep the house at a bearable temperature for my 13 year old dog. like most, i am flinching at the mere thought of my electricity bill. also like some, i don’t have a whole lot of loose change to spend on anything besides food and gasoline. i chose this item because the quantity and discount offered seemed to be the most economical. please note, the pictures are taken at 2:30 in the afternoon with no inside lights on. we have almost achieve cave status without blackout curtains. let’s dive into application, shall we. i did this solo because i wanted to see if it could be done. i’m sure, like most things, if you had multiple sets of hands, it would go a lot faster. one side of my sliding glass door took about an hour or so. handmaids tale was playing so i’m using that as a guesstimate. i didn’t have the energy to procure a squeegee so i used a plastic ruler instead. the ruler allowed for the same type of edge as a credit card or small hard card would but with more surface area. there were a few mishaps with fur getting between the sheet and the window surface but if you’re quick enough, you might be able to fish it out. i matched up the factory cut side as well as i could with the corner and left side and used some painters tape to hold the sheet in place up top while i started peeling the tint from the backing. spraying your widow down with the soapy water mix will allow for manipulation during the initial placement. there will be A LOT of bubbles so be patient working them out. i used an arcing motion to gather bubbles together and press them towards the edges. that technique seemed to work best. it’s very much like putting a screen protector on your phone. you’re going to get pissed at least once. i chose to leave the backing on and pulling it down one section at a time to attempt to keep animal hair finding it’s way between. that worked for the most part, although, my cat did decide to hang out right next to the window the entire time so there’s that. as i mentioned before, don’t have a bunch of money to spare on “be prepared to screw up on the first attempt” so i was determined to keep the mistakes to a “i can live with that” level. all of that being said, if you aren’t a “do it yourself with the help of 8 youtube videos before you break down and call for help” person, then you might need additional hands. if you’re determined, cheap, with a ragtag set of skills like me, this could work for you. good luck to you all and stay cool my friends.
S**Y
Works, but a pain to install
I've installed window film on three rooms so far in my home. I have to say that this product is one of the worse products I've had the displeasure of installing. The instructions are bare but there are youtube videos online and it's fairly obvious what you have to do. However, there's no clear marking on which side is the window side and which side is the room side, Minor annoyance 1. There's a transparent cover that covers the window side of the film that's easy to take off. However, the cover on the other side is almost impossible to take off and makes the entire process of putting the film on the window a challenge in itself, Major annoyance 1. Finally when you're ready to put the film on the window and have sprayed the film and window with your soapy water. You'll put the film on the window and it will need to be adjusted. However and maybe a positive to this film, it sticks to the window and will not adjust easily. So you'll have to constantly take it off and reapply it until you're squared or you've given up and decide to cut off excess, Minor annoyance 2. So once you've attached the film and adjusted it to your liking, you'll squeegee the film to remove air bubbles and water. Easy enough, than you'll remove the back cover which doesn't want to come off and you'll waste your time since it will inevitably peel the film off the window once again, Major annoyance 2. Once that is off, it's time to trim the film to the window frame. NEVER have I ran into a film that will not cut like this film. I've done three rooms with this one being my 3rd. I've used a different product for my other two rooms and this film is by far the worse to cut through. Every cut either drags the blade leaving pocks and bumps in the film or it goes through and leaves cracks in the film. I couldn't even explain why that happens. So what is left is a badly trimmed film that has gashes and bumps around the side of the window frame. This is by far the most egregious annoyance and why this product cannot be more than 3 stars to me. The only positive thing I can say about this product is that it works stupendously and provides the privacy and shade that is written on the product page. I can feel the difference from before and after I've installed this product. tl;dr - This product works great, but is one of the worse films to install.
A**.
Great if you need to reduce strain on your ac in this hot hot summer and save on your electric bill
Just installed it on a single-pane western-facing window underneath large bubble wrap, that gets a LOT of heat coming through in the late afternoon/evening here in the south. You could easily have broken a sweat in front of that window previously even with the AC running. It's still warm but very comfortable now standing there at peak heat time, and no sweating involved! I intend to also put this on my southern and east-facing windows as well in order to further reduce strain on my AC with the extreme heat we have had this summer. I will try to remember to come back to edit this post once my next electric bill arrives that has had this film in the windows for a full billing cycle. I can tell there will be a difference already because my AC barely kicks on even in the heat of the day, and everyone I know says their AC is not shutting off at all. That is not 100 % from this film, however. I had a home energy audit a year ago that gave me better seals around my doors, I added large-bubble wrap to my windows (which is not visible with this film installed under it from the outside), and new blown-in attic insulation which all contribute to that impact as well. Not everyone is gung-ho enough to do the bubble wrap, but this alone makes a significant impact and you can see through it in the day, it just looks like a light window tint from the inside. At night the mirror flips and you cannot see outside but outside can see in. One last benefit to this film is that it is only installed with water, so you can remove it in the winter to let the warmth of the sun in and then reinstall it when it gets warm again. Also, it does not impede the function of the windows if you live where you might want to open them. Pics are inside with bubble wrap on top, and from the outside in the day.
J**C
Hopeful purchase lead to Disappointment!
Silver color 17.5x 6.5 size. I purchased 5 rolls I installed as directed on package. Clean windows, measured correctly, installed and placed on correct side. I installed (2) rolls on my bedroom windows and within an hour, the tint plastic PEELED OFF nicking and making dents in it making it UNUSABLE. Frustrating! I waited some time before attempting it again this way, I can give my accurate review and will know if it is a “Me” problem or “Them” problem. This time, it was on my living room window. Again, I installed as instructed on package. My installation was 2 days ago now & began peeling AGAIN. Within this time, I monitored it RE-APPLYING water & smoothing it out hoping I won’t totally lose it all as my first 2 rolls. Well, yesterday I was out for about 4 hours & NOT TO MY SURPRISE, my floor was covered in creased tint!! Yet again, UNUSABLE!! I gave this product the benefit of the doubt & countless effort, but my answer is locked in.. I’m DISSATISFIED and DO NOT recommend. I wasted all (5) rolls and money. I can say for the very (short) time up, the tint did block people from looking in during DAYTIME. However, this tint will not block out anyone from seeing in at night and will not have privacy. The idea of it is nice, but what is the point if this product does not stay installed & also speeds up the peeling process once the sun hits it?? Isn’t it promoted as heat-blocking? Currently: Looking for a dependable solution for window privacy/heat blocking. All windows are as they were before purchase: exposed and see-through. $50 completely wasted down the drain.
M**Y
Works well for limiting temperature rise in a garage.
I don't think the "privacy" aspect of this film is very useful. The only time it works is during the day, when outside is much brighter than inside, and under those conditions you can't see inside a house anyway (try it!) BUT that doesn't mean it's useless; it's second function, cutting out IR and UV, works really well. If you live in a sunny state you probably know that if your garage has glass windows, then it turns into a furnace during the day, with the greenhouse effect ensuring that it can get 10 to 15 degrees hotter than outside. My experience is that with this film applied to the garage windows it only gets the same temperature as outside. So, OK, it can't work magic -- but keeping the garage 10 to 15 degrees cooler than it would otherwise be ain't nothing! For a mere twenty dollars or so, that is, IMHO money well spent! Some hints for easy application: Get film slightly wider than your window panes. Make sure you have all the tools necessary and right on hand (a squeeze bottle of water, a squeegee, a credit card, a boxcutter). Don't try to cut the film to the right size with scissors; rather get it up onto the window (if necessary tape up a corner or two where the edge part extends past the window pane). Squeegee flat, then flatten the last few bumps with the credit card. Then cut off the excess by going around the window pane edge with the boxcutter. Make sure your boxcutter blade is new and sharp -- an old blade WILL skip and not cut the film nicely. With a box cutter it's fairly easy to trim the edges and create a job that looks reasonably good! My first attempt I tried using scissors to cut the film to the window size and that worked much less well.
Trustpilot
2 weeks ago
1 month ago


