


🖨️ Flex Your Prints, Not Your Patience!
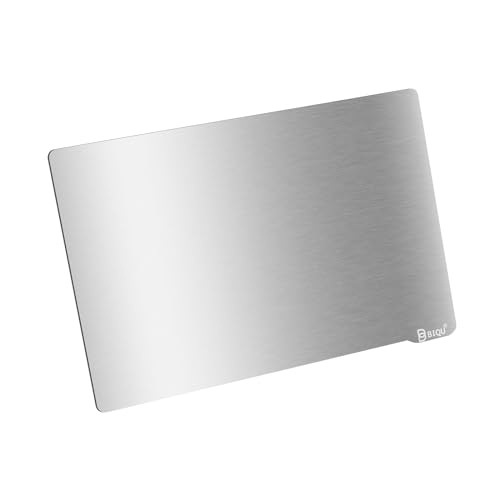
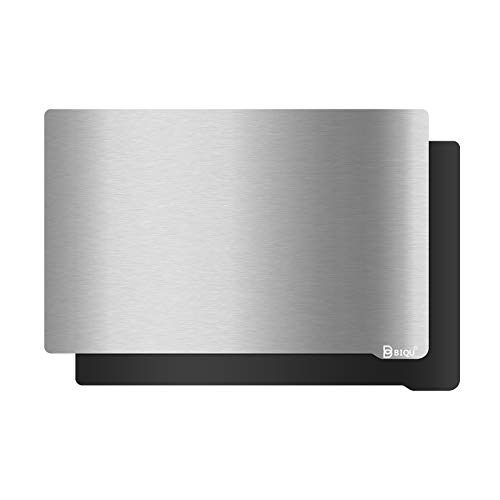
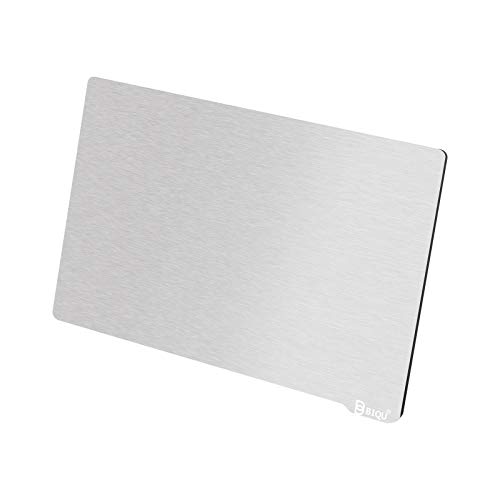
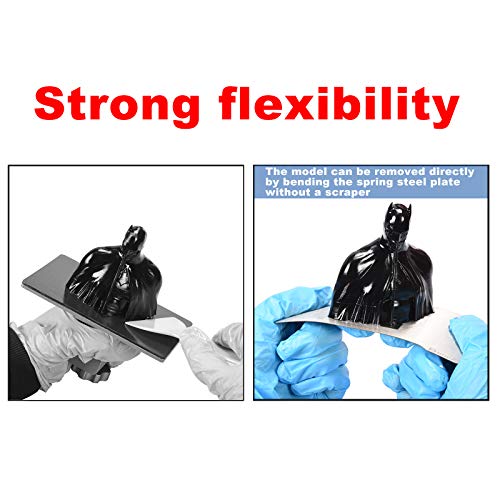
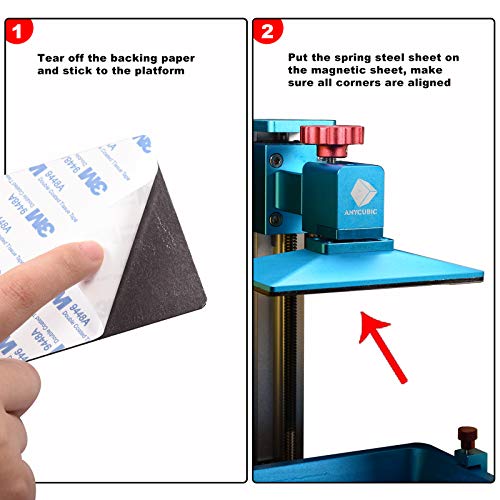
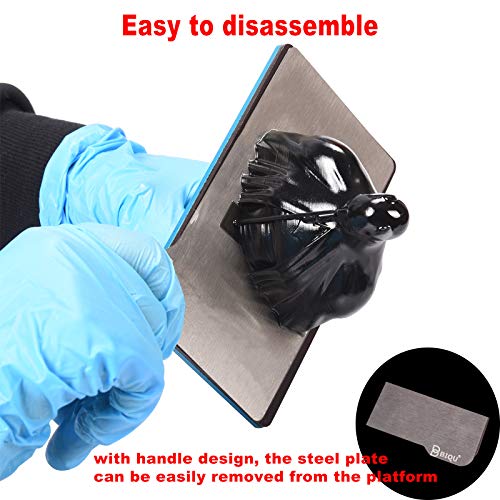
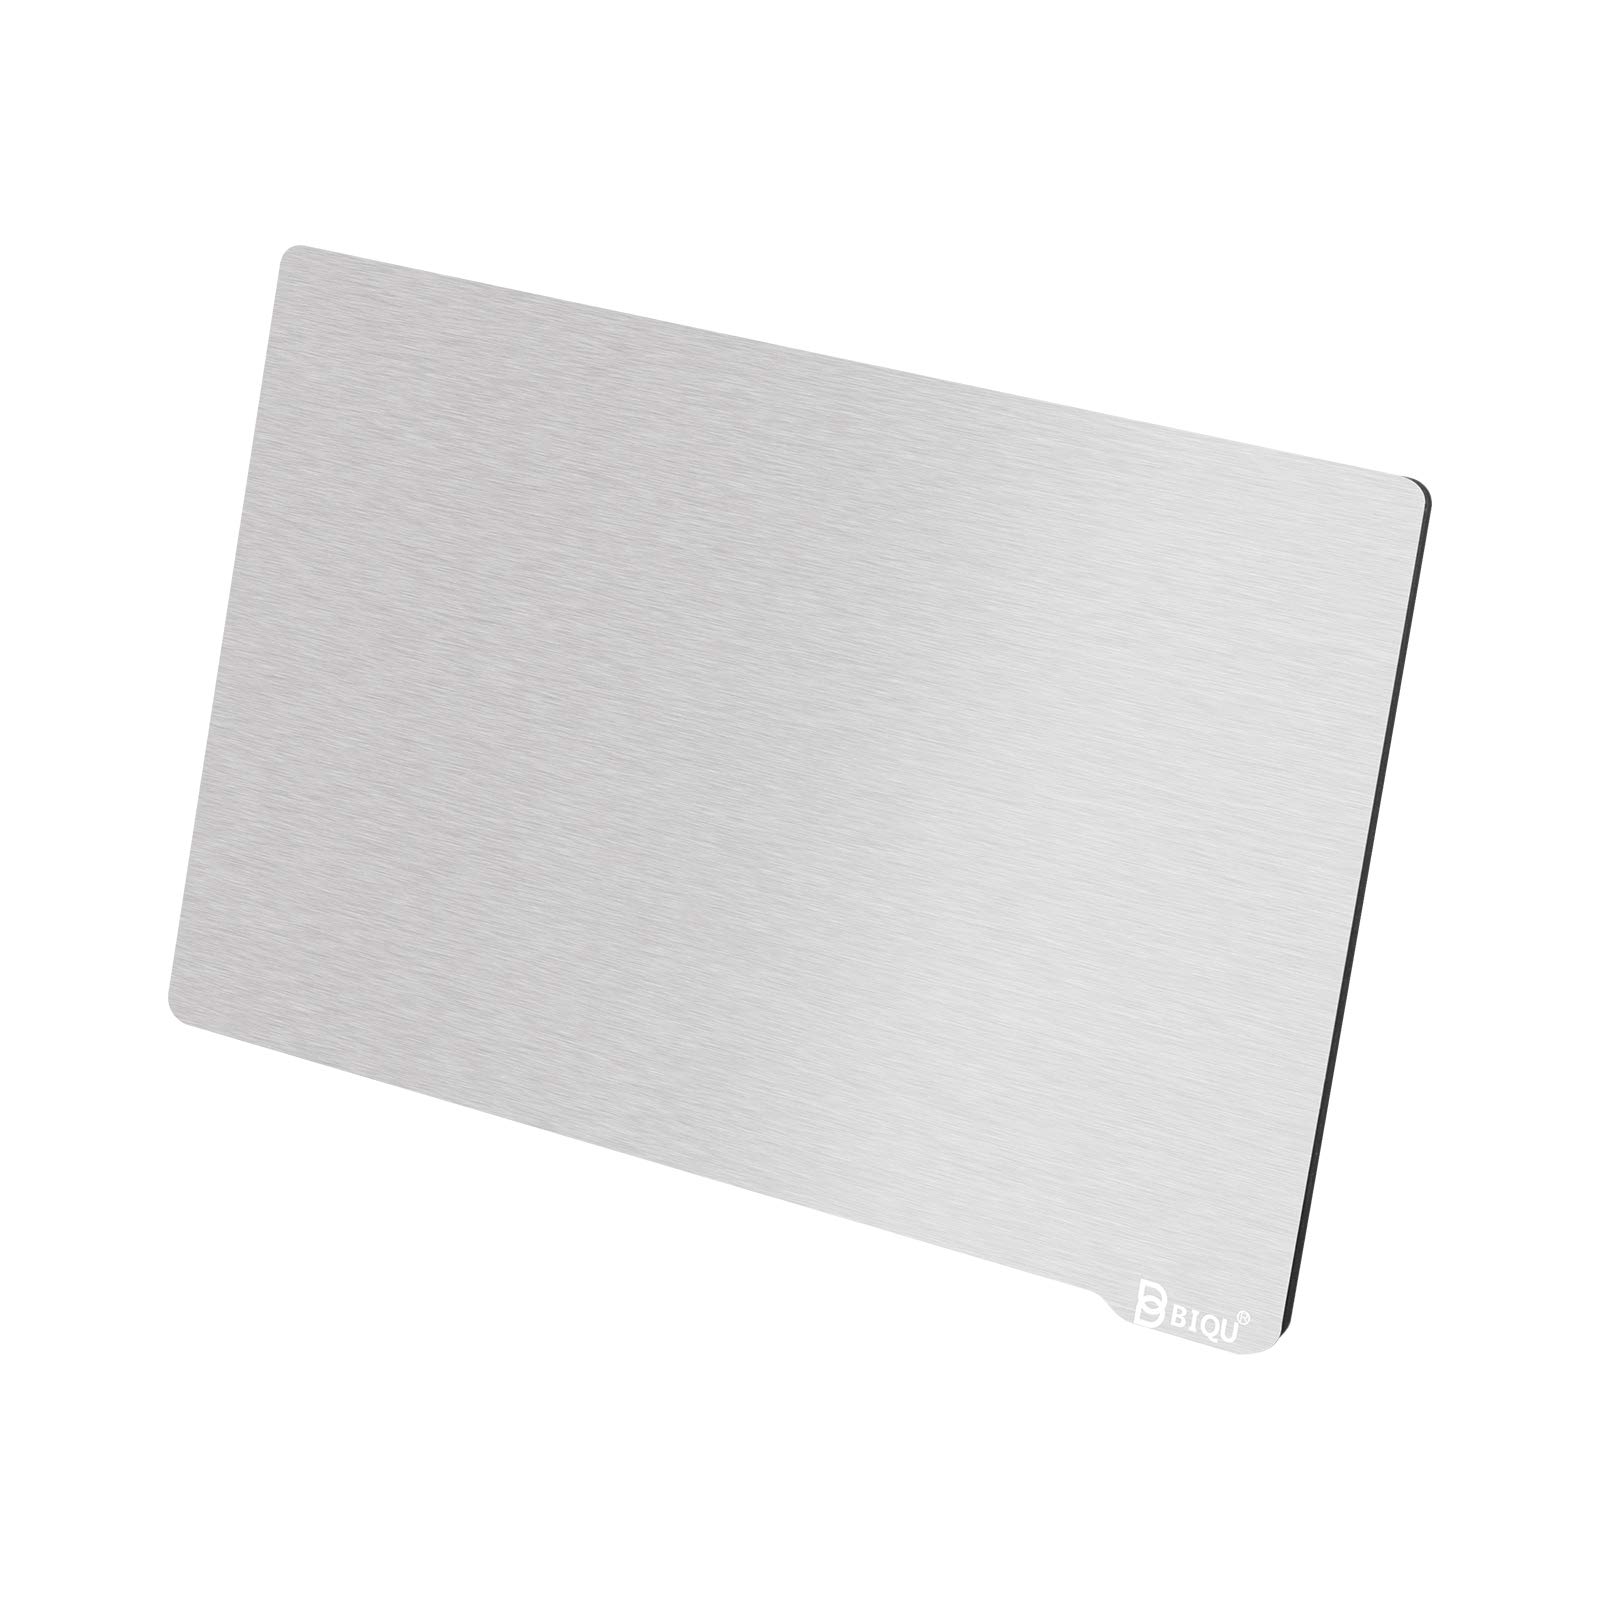
The BIQU Resin Build Plate + Magnetic Sheet is a 202x128mm flexible spring steel platform designed for resin 3D printers like Anycubic Mono X and Photon X. Featuring a high-adhesion wire-drawn surface and a powerful soft magnetic sheet, it offers superior print stability and effortless model removal by bending the plate. Made from premium US-imported spring steel, it ensures durability and flatness, while the ergonomic handle enhances usability. This upgrade transforms your resin printing experience by reducing print damage, minimizing resin waste, and speeding up post-processing.


| ASIN | B08QCR4K86 |
| Best Sellers Rank | #267,533 in Industrial & Scientific ( See Top 100 in Industrial & Scientific ) #4,384 in Additive Manufacturing Products |
| Brand | BIQU |
| Colour | sliver |
| Country of Origin | China |
| Customer Reviews | 4.1 4.1 out of 5 stars (475) |
| Date First Available | 24 February 2025 |
| Included Components | BIQU Resin Flexible Steel Plate 202x128mm |
| Item Weight | 18 g |
| Item model number | WZC000385 |
| Manufacturer | BIGTREETECH |
| Model number | WZC000385 |
| Number of Memory Sticks | 1 |
| Package Dimensions | 20.6 x 15.9 x 0.79 cm; 18 g |
J**.
...scuff up the surface a bit more. My experience was I got the little envelope from amazon and opened it up slapped it on the build plate - calibrated... and did a few test prints. It was a bulky item I kept trying... so the plate just kept coming up empty. I was immediately frustrated... but also realized this print item fell off the original build pate too! (also am using ptfe lube on the new fep) So I did the nasty and grabbed some sandpaper and took a few angry swipes at the Biqu metal plate. Just quick swipes to get a bit more Texture. And BOOM This thing works AMAZINGLY on Everything! The days of using a dam razor or chisel are over! No need for a bulky raft! Just slice that thing right on the build plate!! You can pop it off with ease and have no damage to the part and waste less resin. Final note: If you are worried about damaging the new biqu magnet plate you just bought by scuffing it up a bit more as I mentioned above you can flip the metal sheet over and have the original manufacturing texture that came with the metal plate. and that at its default texture works just fine for small parts like minis. This thing is such a simple and great idea. Should be a default on ALL resin printers. Amazing product.
C**N
This thing has been AMAZING for protecting my new resin printer and its bed, and with how easy the Mono X is to level, this was a peice of cake! The on thing to be aware of is that if you arent careful, this can rip your glove, which happened to me a few times. Few things to note: Big Print? Hard to flex, so you might need to scrape it off, but this is better to replace than the entire build plate. Magnetic force is STRONG, recommend laying both on sides, at 45 degree angle, and then gently nuding them together, with your hands outta the way so you dont get pinched. Past that, I ADORE how easy it has been to use and has made my experience as a new resin printer hobbyist MUCH better!
V**A
I purchased this item for for my Anycubic Photon Mono X 6K resin printer after seeing it mentioned in a few YouTube videos. I have a magnetic bed for my FDM Creality 10s Pro V2 printer and that works great, so I presumed it would be a similar experience. Just to be clear, I have never had a difficult time printing and removing anything on this printer, but I figured this would improve the removal process somewhat just in case I had small and delicate prints. Unfortunately, it has essentially rendered my printer unusable. I spent a day or two preparing everything to install this. I sanded the original plate, soaked it in isopropyl alcohol, sanded, soaked, etc, etc, to install the adhesive plate. Then I used a heater and got it installed. I also printed the highly recommended 2mm spacer for the bed sensor That being said, that entire process is mostly to ensure the adhesive sticks the magnet to the original print bed. It has nothing to do with making the removable magnetic print plate more effective. This is where my issue begins. I leveled it with the new plate on, like usual. I cleaned the vat, cleaned the plate and have since tried an unbelievable amount permutations to get ANYTHING to work with this plate and they all fail. I have tried 3 different types of resin, numerous settings in the slicer and still all of my prints now fail to stick to the new magnetic plate and instead just cure on the bottom of my vat. So between each attempt I have to strain and drain the vat, soak it in alcohol, then scrape off the vat failed print. I have adjusted curing times both up and down and it all just sticks to the vat and nothing sticks to this metal plate. At this point, I'm thinking I'm going to have to scrape off the adhesive and just throw away the metal portion. The problem is, now I've potentially ruined my build plate because I had to sand it to get this to stick. I am so unbelievably upset with this purchase. I don't know what I could possibly be doing wrong if others are actually getting any results out of this thing.
D**Y
I was a little hesitant on this build plate as it was priced lower. I read some reviews and decided to try it out. I didn't like printing on the stock surface as I could see some scratches forming where prints were pried off. I hadn't had my resin printer for more than a couple months so I was concerned about adding problems, but I wanted a removeable build surface. It showed up on the doorstep well wrapped in bubble wrap. Removing it from the packaging there were no scratches or blemishes, it looked perfect and flat. The magnet felt very strong. I cleaned everything really well and waited a bit to make sure any residue had flashed off. I was a tiny bit disappointed to see that it was slightly smaller than the build plate on the Qidi Shadow 6, but only a little. I centered the magnet on the build plate as carefully as possible so it laid out flat. The magnet is pretty stiff so it wasn't hard to keep it flat. The spring steel plate is thin enough to be flexible but stiff enough to stay very flat. It looked really good and I was not at all concerned with being able to level it. It does add a few mm of z height. My Shadow 6 has a setting for changing the z stop so I set to leveling and setting the new height. All seemed good so I threw in some resin and hit go on a small test print. When the plate hit bottom it did not stop at the right height and I had to emergency stop it. I decided the end stop blade wasn't reaching far enough into the optic switch to trigger it consistently. I had read about a shim that could be printed for printers with no z stop adjustment but after looking at the blade I was able to put a slight bend in it to move it down about the width added by the new plate. After re-setting the z stop I went through a few tweaks to get the build surface sitting as level as possible. I decided to try printing some new cable chain pieces for my fdm printer upgrade. I packed the plate as full as possible and placed the prints directly on the plate with no supports as a test. They printed beautifully and popped right off the plate with just a little flexing. I made about 10 more sets and then ran a 13 hour print that had failed 5 times before. It printed perfectly. Spend some time getting the leveling perfect and you will love this plate. After around 40 prints I have only had one failure and that was an issue in the file setup. Well worth the money.
A**N
I haven't used my printer in some time and wanted to again recently. I figured I'd look for something to make removing trouble prints easier. Unfortunately I was unable to produced a print that stuck to the plate even a dot. I level it how I always did. I don't use the paper method but loosening the plate screws so it's hanging slack, home the bed, put some presser on the plate downwards to make sure it's level with the screen on the corners just in case then tighten the 4 screws. From there bump up the plate 0.2-0.3mm, set zero, done. Never an issue sticking to the stock build plate. I did read about some people using spacers but some didn't need it while others recommend it when using the Mono X and a flex plate from other brands. The Mono X uses a sensor trigger not a mechanical and there was no issue at least for me leveling it how I do it. Regardless, nothing worked to solve the sticking issue. I even sanded one face. While I know it works well for some it just didn't for me. A little more elbow grease to remove some prints will have to do. I did notice when removing it from the plate the glue was more stuck to the perimeter than the center and larger area. While I know it works well for some it just didn't for me. So not going to fault the company over it.
Trustpilot
1 month ago
1 month ago


